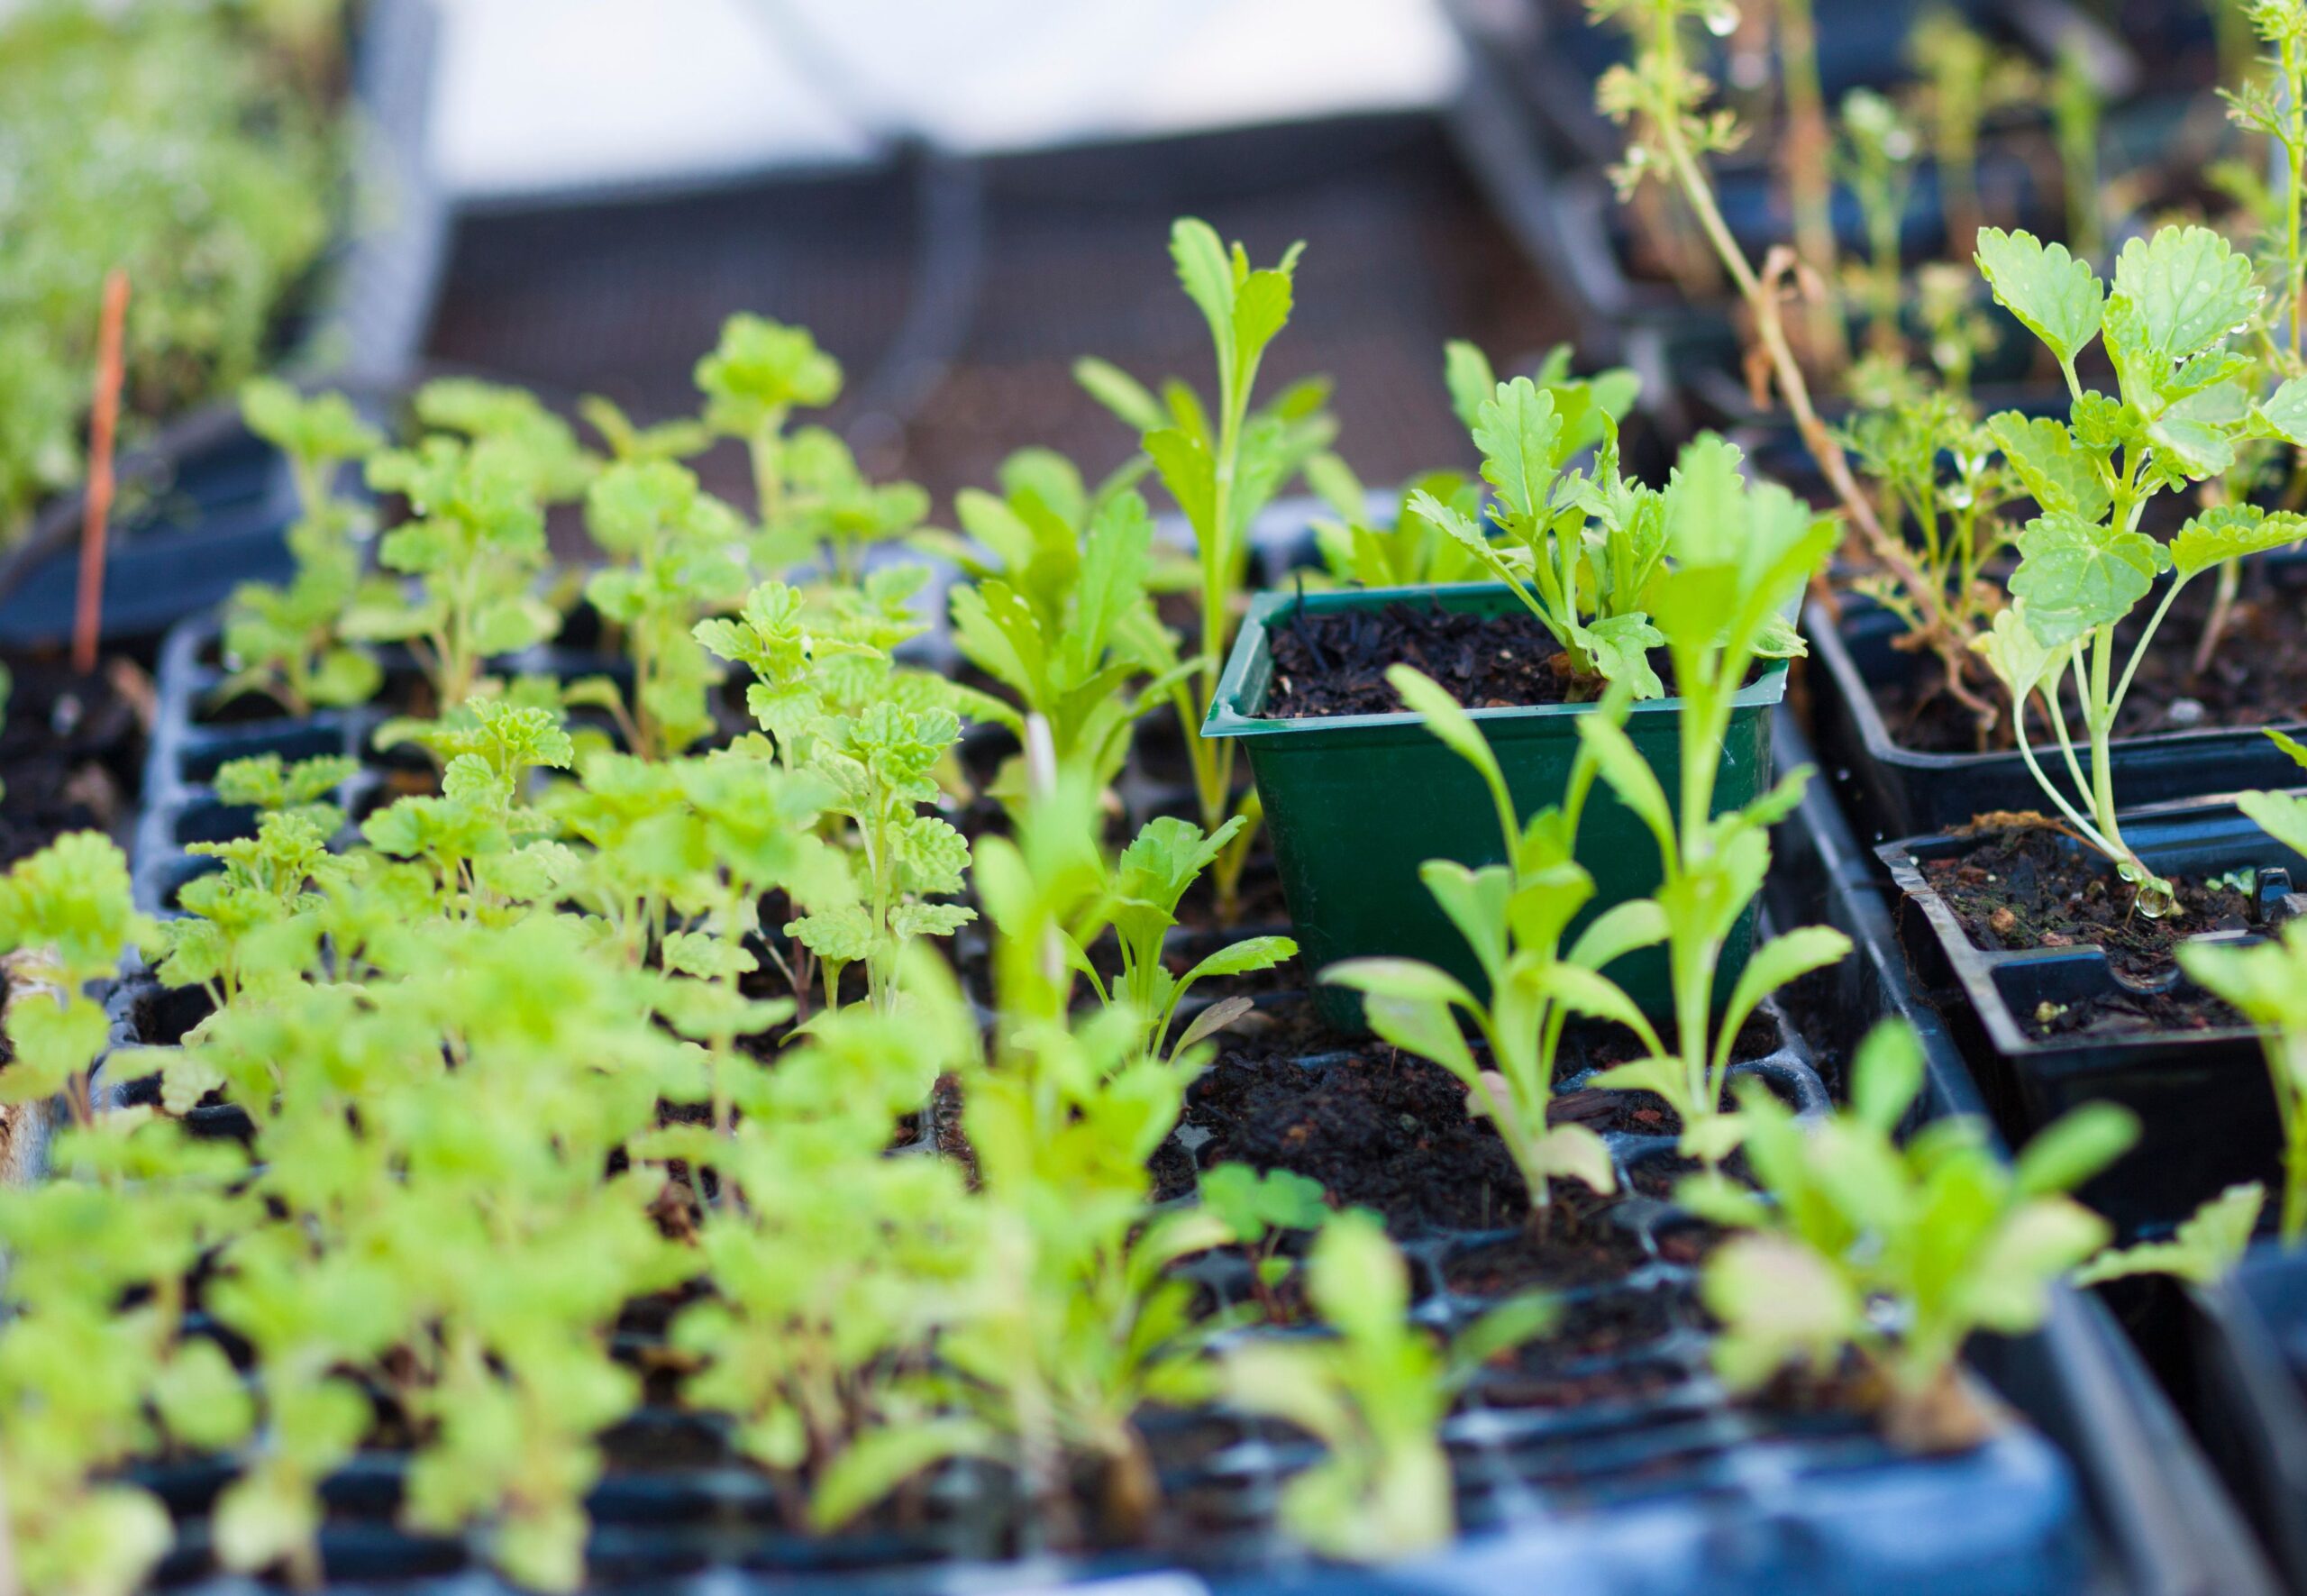
How and When to Transplant Starter Trays of Seedlings for Optimal Growth

With the right care, many types of seeds started indoors grow quickly enough that the seedlings will need to be repotted at least once before they’re ready to go outside in your garden. Knowing how and when to transplant starter trays of seedlings into bigger pots is key to growing healthy flowers, veggies, and herbs from seed. This simple guide explains all the basics you need to know to successfully move your indoor seedlings up in pot size, plus when to transplant seedlings outdoors.
Why Potting Up Is Necessary
Some seeds germinate faster than others (placing the tray on top of a heating mat speeds up the process) and the same applies to seedlings—they grow at different paces. Some seedlings grow so fast that they need to be transplanted or “potted up” into bigger pots at least once before they’re transplanted into the garden. That’s because the cells in a typical seed-starting tray do not give them enough room to continue growing.
Creating more space for root growth is not the only reason why seedlings need to be repotted into bigger containers. Larger containers also prevent drainage issues and allow you to thin out extra seedlings. Repotting also refreshes the potting mix and offers more nutrients to your plants.
Fast-growing veggies, such as tomatoes, and other plants with large root systems usually need to be potted up before they’re moved out into the garden. Slower-growing seedlings, such as herbs and some flowers, may not need to be repotted before transplanting.
Some plants, such as members of the cucumber family (which includes melons, zucchini, and squash) and root veggies are sensitive to root disturbance. It’s usually best to start them in biodegradable containers or deep and roomy pots so you won’t need to repot them later. Or, if you can wait, directly sow these plants outdoors in spring.
When to Transplant Seedlings
There’s no set rule for when seedlings should be repotted into larger containers and some seedlings may not need to be repotted at all. In general, fast-growing seedlings planted in small seed cells will need to be potted up sooner than slow-growing seedlings in large seed cells and pots. However, repotting times vary significantly depending on the types of plants you’re growing and when you plan to move your seedlings out into your garden.
A good rule of thumb is to repot seedlings into bigger containers about 3 to 4 weeks after germination if the seedlings look like they need more room and it’s still too cold to transplant them outdoors. Some key signs that it’s time to move seedlings into bigger pots include:
- Seedlings have at least 2 sets of true leaves and a strong root system that can’t be easily lifted from the potting medium if you gently pull up on the plant’s stem.
- Seedlings are rootbound or their roots are visible at the top of the soil line or emerge from the pot’s drainage holes.
- Seedlings have visibly outgrown their containers and have become leggy, top-heavy, or unwieldy.
- Seedlings display signs of stress, such as wilting, stunted growth, or leaf yellowing.
- The potting medium dries out too quickly after watering.
How to Pot Up Indoor Seedlings
While it’s tempting to pot seedlings into extra-large pots to eliminate the need for future repotting, this isn’t recommended. Growing plants and seedlings in oversized containers increases the chances of overwatering, which leads to root rot.
Instead, repot seedlings into containers that are just one or two sizes bigger than their original seed starting cells. If they need more room later on, repot them again into even bigger pots.
Step 1: Do Some Research
Before repotting seedlings, double-check your seed packets for planting instructions or do some research on the plant’s growing needs. Seed packets will usually let you know if your seedlings need repotting and the best time to pot up your plants.
Step 2: Water Your Seedlings
About one hour before repotting seedlings, give your plants a deep drink of water and pre-moisten the potting mix or seed starting mix you intend to repot your plants with. Watering seedlings before repotting makes it easier to remove their roots from the seedling trays and it helps to protect seedlings from transplant shock.
Large seedlings should be replanted into standard potting mix, while delicate seedlings often do better when they’re repotted into a lighter mix made with 60% potting mix and 40% seed starting mix, which is soilless. Commercial potting mix often has nutrients added and temporarily eliminates the need for additional fertilizer.
Step 3: Remove Seedlings from Seedling Cells
The easiest way to remove seedlings from their cells is to gently press a finger against the underside of the seedling cell until the plant’s root ball moves up and out of the seedling tray. Be sure to handle seedlings carefully while unpotting and hold them by their roots to avoid breaking tender stems. If you can, avoid disturbing the seedling roots and keep as much of the potting mix attached to the roots as possible.
Step 4: Repot
If you have multiple seedlings growing together, thin out extra seedlings by gently teasing their roots apart or clipping weak seedlings off with fingernail scissors. Then, sprinkle some fresh potting soil or seed starting mix into the bottom of your new growing containers, position the seedlings in their new pots, add more soil, and firm the soil around the seedling stems. You can bury brassica, tomato, and other nightshade plants a little deeper in their growing containers to fix leggy stems and encourage root development. Beans and cucumbers should only be planted as deep as they were growing in their seedling cells.
Step 5: Continue to Care for Your Plants
After repotting, move your seedlings back to their sunny indoor location or under their grow lights. Water them regularly to keep the soil moist. It’s normal for seedlings to wilt slightly after repotting, but they should bounce back within a day.
Step 6: Repeat (If Needed)
Vigorous growers, such as tomatoes, cucumbers, and zucchini, may need to be potted up several times before they’re transplanted outside. If so, select a growing container that’s 1 or 2 sizes bigger than the original pot and repeat the above repotting steps.
How to Transplant Seedlings Outdoors
Repotting seedlings into larger containers is a way to maximize healthy plant growth while you wait for spring. When nighttime temperatures rise above 50°F and the danger of frost has passed, it’s time to transplant your seedlings outdoors.
- After your last frost date, harden your seedlings off over 1 to 2 weeks. When your seedlings can stay outdoors for a full day, they’re ready for transplanting.
- Just before transplanting, water your seedlings. If the soil is very dry, water the soil of your intended planting spot, just enough so the soil holds together. If you haven’t done this already, work compost into the soil.
- Dig a hole that’s slightly larger than your seedling’s root ball. Set the seedling in the hole and firm the soil around the plant’s stem. As with repotting indoors, you can partially bury the stems of certain plants such as tomatoes for stronger root growth.
- After transplanting, water well and continue the routine care of your plants.