How to Grow Marigolds from Seed to Flower in 10 Easy Steps
Marigolds make easy-care bedding flowers and container plants, plus they can be used for companion planting and cut flowers. While starter plants are often sold at garden centers in spring, growing marigolds from seed is a breeze and can save you some money. Starting with seeds also allows you the opportunity to try out different types of marigolds than you may find at a plant shop. Use these simple tips to learn the basics of growing marigolds from seed to flower.
1. Pick the Best Types
Marigolds come in different colors, shapes, and sizes, and they range in height from 4 to 48 inches tall. Make sure to choose marigold varieties that are properly sized for your space, and suit the purpose you have in mind for them.
Although there are more types of marigolds to explore, most common marigolds fall into one of three categories:
- African or Mexican marigolds are large plants that produce big, showy blooms that are often used in bouquets.
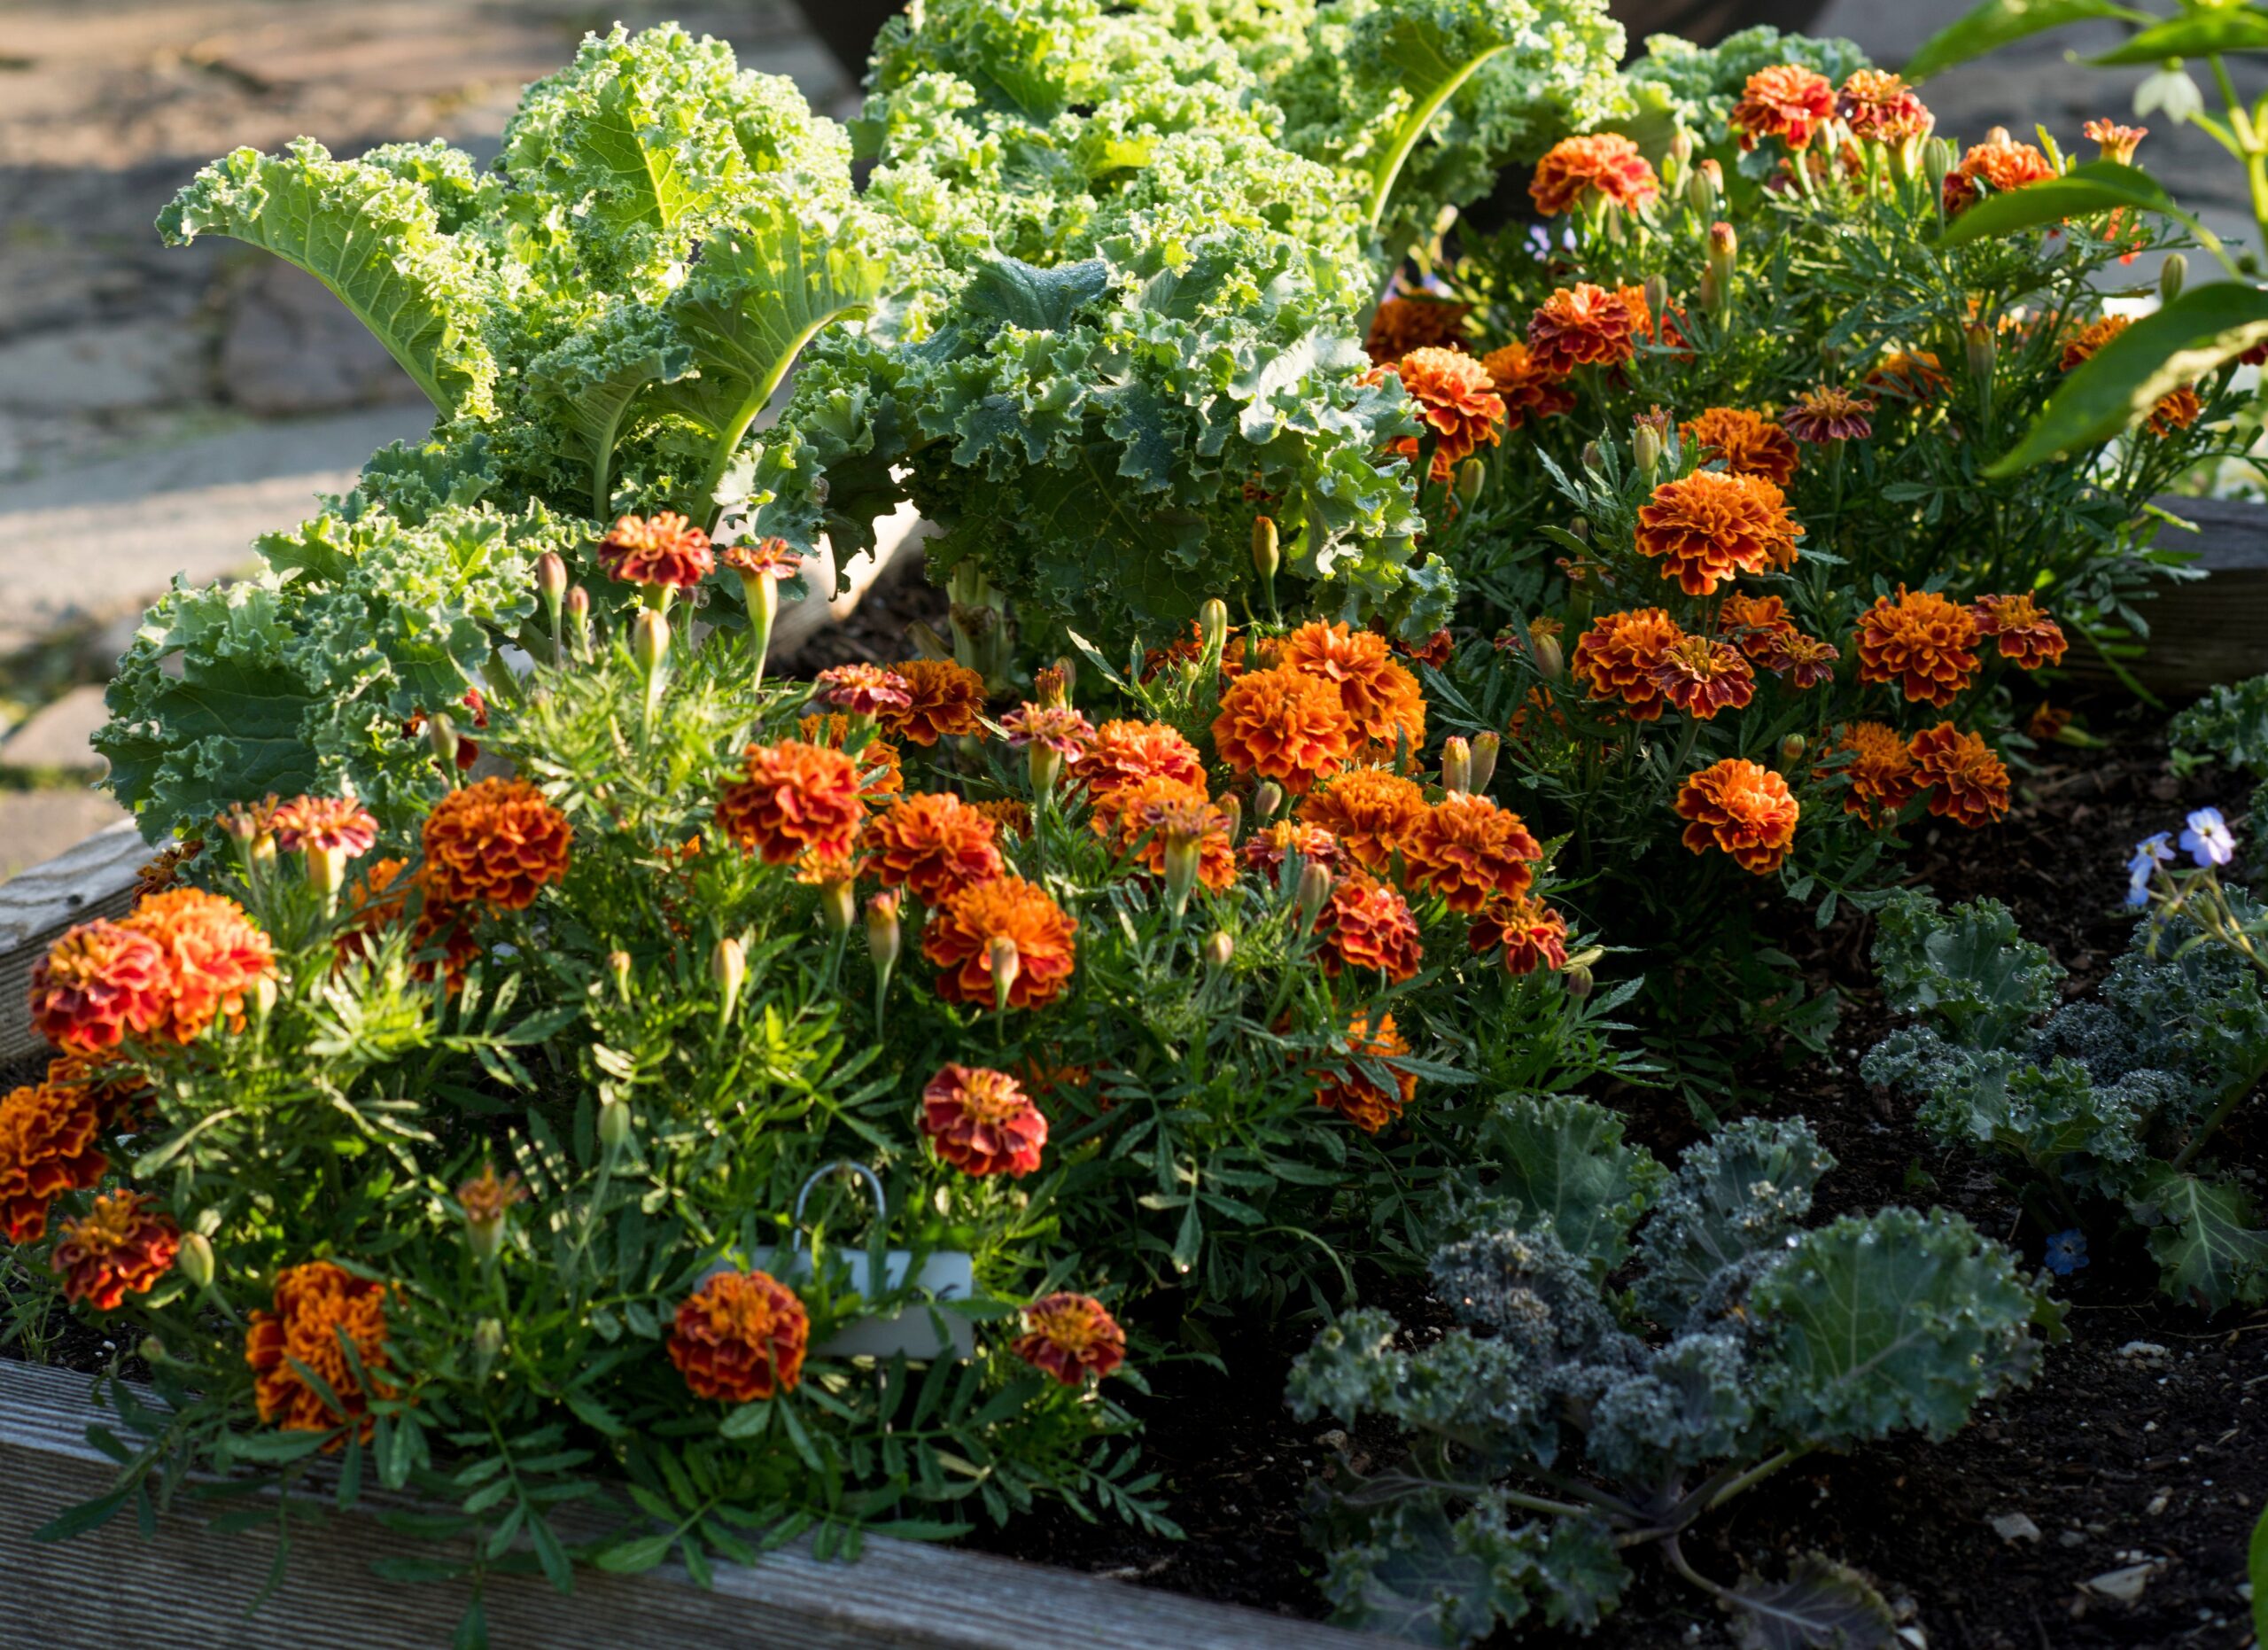
- French marigolds are smaller plants often grown in garden borders and pots. These are the best marigolds for companion planting and repelling pests.
- Signet marigolds have smaller and subtler blooms than African or French marigolds, but they’re edible.
2. Know When to Plant
While you can plant marigold seeds directly in the garden, most seed catalogs recommend starting marigold seeds indoors six to eight weeks before your last spring frost. Not only does indoor sowing protect heat-loving marigold seedlings from unexpected spring frosts, but it also allows you to enjoy marigold flowers a little earlier in the season. Most marigolds take about two to three months to bloom and are annuals, so you’ll need to plant new seeds every year unless you allow the plants to self-sow.
3. Start Seeds Indoors
When you’re ready to plant marigold seeds, fill seed-starting trays or pots with a pre-moistened seed-starting mix and plant about two marigold seeds per seedling cell or pot. Lightly dust the seeds with a seed-starting mix or vermiculite, add a humidity dome or clear plastic cover over the seedlings, and then move the seeds to a warm spot. Placing a heating mat under your seedlings will help them germinate faster.
4. Water Regularly
Marigold seeds don’t need light until they germinate, but they should be watered regularly from the start. Keep the soil evenly moist while the plants are growing indoors, but never water them so much that their soil feels soggy. If possible, water marigolds from the bottom and keep their leaves dry to reduce the chances of damping off and powdery mildew.
If damping off disease attacks your seedlings, isolate them immediately and dispose of them and any potting soil they grew in. Don’t compost diseased plants or soil. Composting doesn’t destroy damping off pathogens.
5. Add Light
When your marigold seeds have sprouted, move the plants under a grow light or into a bright window that receives at least eight hours of direct sun daily. If you’re using a grow light, adjust it upward as the marigolds grow so the light is 2 inches above the plants at all times. Marigolds need lots of light to thrive, and they can develop spindly stems and mildew issues in poorly lit environments.
6. Thin Out Extra Seedlings
Once the marigolds are a few inches tall and have true leaves, thin the seedlings so each plant has its own pot. You can do this by snipping off extra seedlings at the soil line with fingernail scissors or by gently repotting the extra plants into their own pots.
7. Transplant in Spring
Transplant marigolds outdoors when they have lots of leaves and sturdy stems and the danger of frost has passed. To start, harden off your seedlings over a two-week period and then plant them in a sunny, well-draining garden bed or 8- to 12-inch pots. Bury the seedlings’ root balls at the same depth the roots were growing in their original pots, and cover the soil with some natural mulch when you’re done.
Spacing varies between marigold varieties, but French marigolds should be spaced about 8 to 12 inches apart, signet marigolds about 12 inches apart, and African marigolds about 12 to 18 inches apart.
Growing marigolds in full sun locations and spacing plants out properly helps the plant avoid mildew issues, but you can also reduce mildew by watering marigolds at the soil line.
8. Skip the Fertilizer
After planting, water marigolds regularly with about 1 inch of water per week, but don’t apply any fertilizer. These plants do best in relatively lean soil, and too much fertilizer causes them to produce lots of leaves and minimal flowers. If your soil is very poor, work in some compost or aged manure before planting, and your marigolds should grow just fine.
9. Prune as Needed
If you want marigolds to flower abundantly, wait for the plants to produce their first set of flower buds and prune them by pinching the stems back to the first set of leaves below the buds. Pruning in this manner encourages marigold plants to branch out and produce bushier growth and more blooms. If you want even bigger flowers, wait for your plants to produce a second flush of buds and pinch off about half of them too—and don’t forget to deadhead spent marigold blooms when they fade.
10. Try Companion Planting
Although marigolds are relatively pest-proof plants, they can sometimes attract aphids, slugs, and spider mites in the garden. The good news is that you can deter many of these pests by planting marigolds near pest-repelling companion plants, like alliums and fragrant herbs. You can also grow marigolds near cucumbers, melons, and other veggies to attract pollinators, or plant marigolds around the perimeter of your garden to deter rabbits and deer.


