Interior Designers Say These 7 Tile Mistakes Are Making Your Bathroom Look Cheap — And You Should Avoid Them at All Costs
A striking tiling design can instantly transform your bathroom into the crown jewel of your home. Nothing screams elegance and luxury quite like seamlessly laid, eye-catching marble. You can also opt for a more playful look with brightly colored zellige tile. No matter what style appeals to you, a well-executed tiled bathroom is always in style.
However, that doesn’t mean tiling your bathroom is always a simple process. There are plenty of traps and potholes to trip you up along your journey to achieving the bathroom tile idea of your dreams. From gaping grout lines to shoddy finishes, these bathroom tiling mistakes can leave your bathroom looking, well… cheap.
Even if you are renovating your space on a budget, you don’t want it to look like you are. We asked our experts to share all the most common mistakes they’ve encountered in bathrooms that will instantly make a space look low-budget, plus what to do instead.
1. Don’t Gloss Over the Grouting
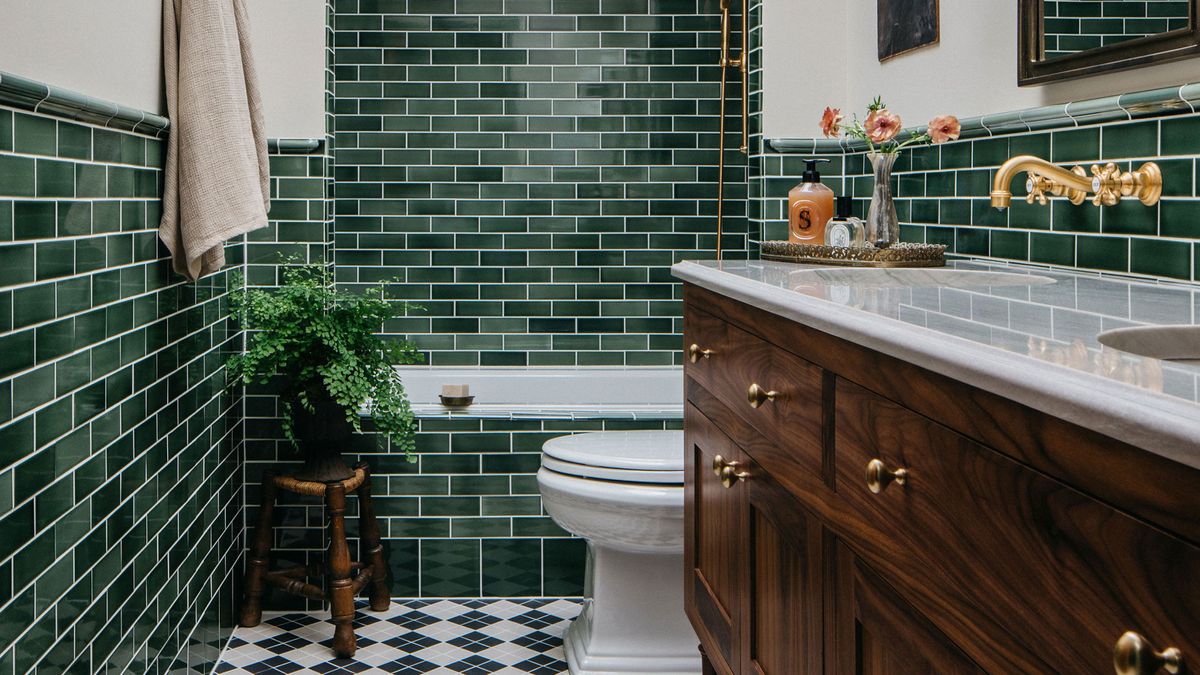
Choose your grouting to blend in with your tile color.
(Image credit: Lisa Staton Design)
When it comes to your bathroom tiling, if there’s one thing that’s going to downgrade the look of your room instantly, it’s the grouting. Whether it’s too thick, too thin, too bright, or too dark, there are endless variables that can affect the final look of your space, and it’s crucial to find the right balance and get it just right.
“First and foremost, I always notice grouting,” says Camilla Masi, from Otto Tiles and Design. The wrong color or thickness can instantly make an expensive tile look cheap— and don’t even get me started on yellow, mouldy, and flaking grout!”
Essentially, the goal should be for your grouting to be rendered practically invisible, so seamless that you barely even register its existence. Chances are, if you’re noticing the grouting in a bathroom, it’s because something is wrong with it, unless, of course, you’re taking part in the oversized grouting trend.
“Using high-contrast grout can feel harsh and distracting unless it’s an intentional part of the design. A grout that’s too light can create a grid-like appearance, while grout that’s too dark may appear messy and overpowering. The best practice is to choose a grout shade that blends with the tile — typically no more than one to two shades lighter or darker,” says interior designer Terri Brien.
“When working with dark tiles, such as black, charcoal, or espresso tones, I often lean toward a slightly lighter gray grout. Dark brown grout, in particular, can be difficult to get right and may come out looking muddy. In those cases, I prefer a warm charcoal tone instead,” Terri continues, “Similarly, when using white grout, be cautious—some whites lean too yellow or too bright, creating a harsh contrast with warmer or muted white tiles. Of course, the overall design aesthetic always needs to be considered when making the right grout choice; it’s all about the forethought and proper planning.”
Ultimately, Terri explains, “The grout that blends the best will recede back and that’s the one you want. The wrong grout choice can unintentionally emphasize every joint, corner, or tile imperfection, making the space feel busy and unpolished.”
Are you looking for the best grout for your space? Livingetc’s Renovations editor Faiza Saqib is currently loving the Fugabella Color grout from Kerakoll — which she’s currently using in her small kitchen renovation project.
With 20 years of experience in high-end residential design, and an in-depth knowledge of interiors, Terri has built her career creating spaces that blend sophistication with cozy comfort. Based in Orange County, Southern California, Terri finds inspiration in her surroundings, infusing each project with the essence of SoCal design.
2. Skipping Sealing
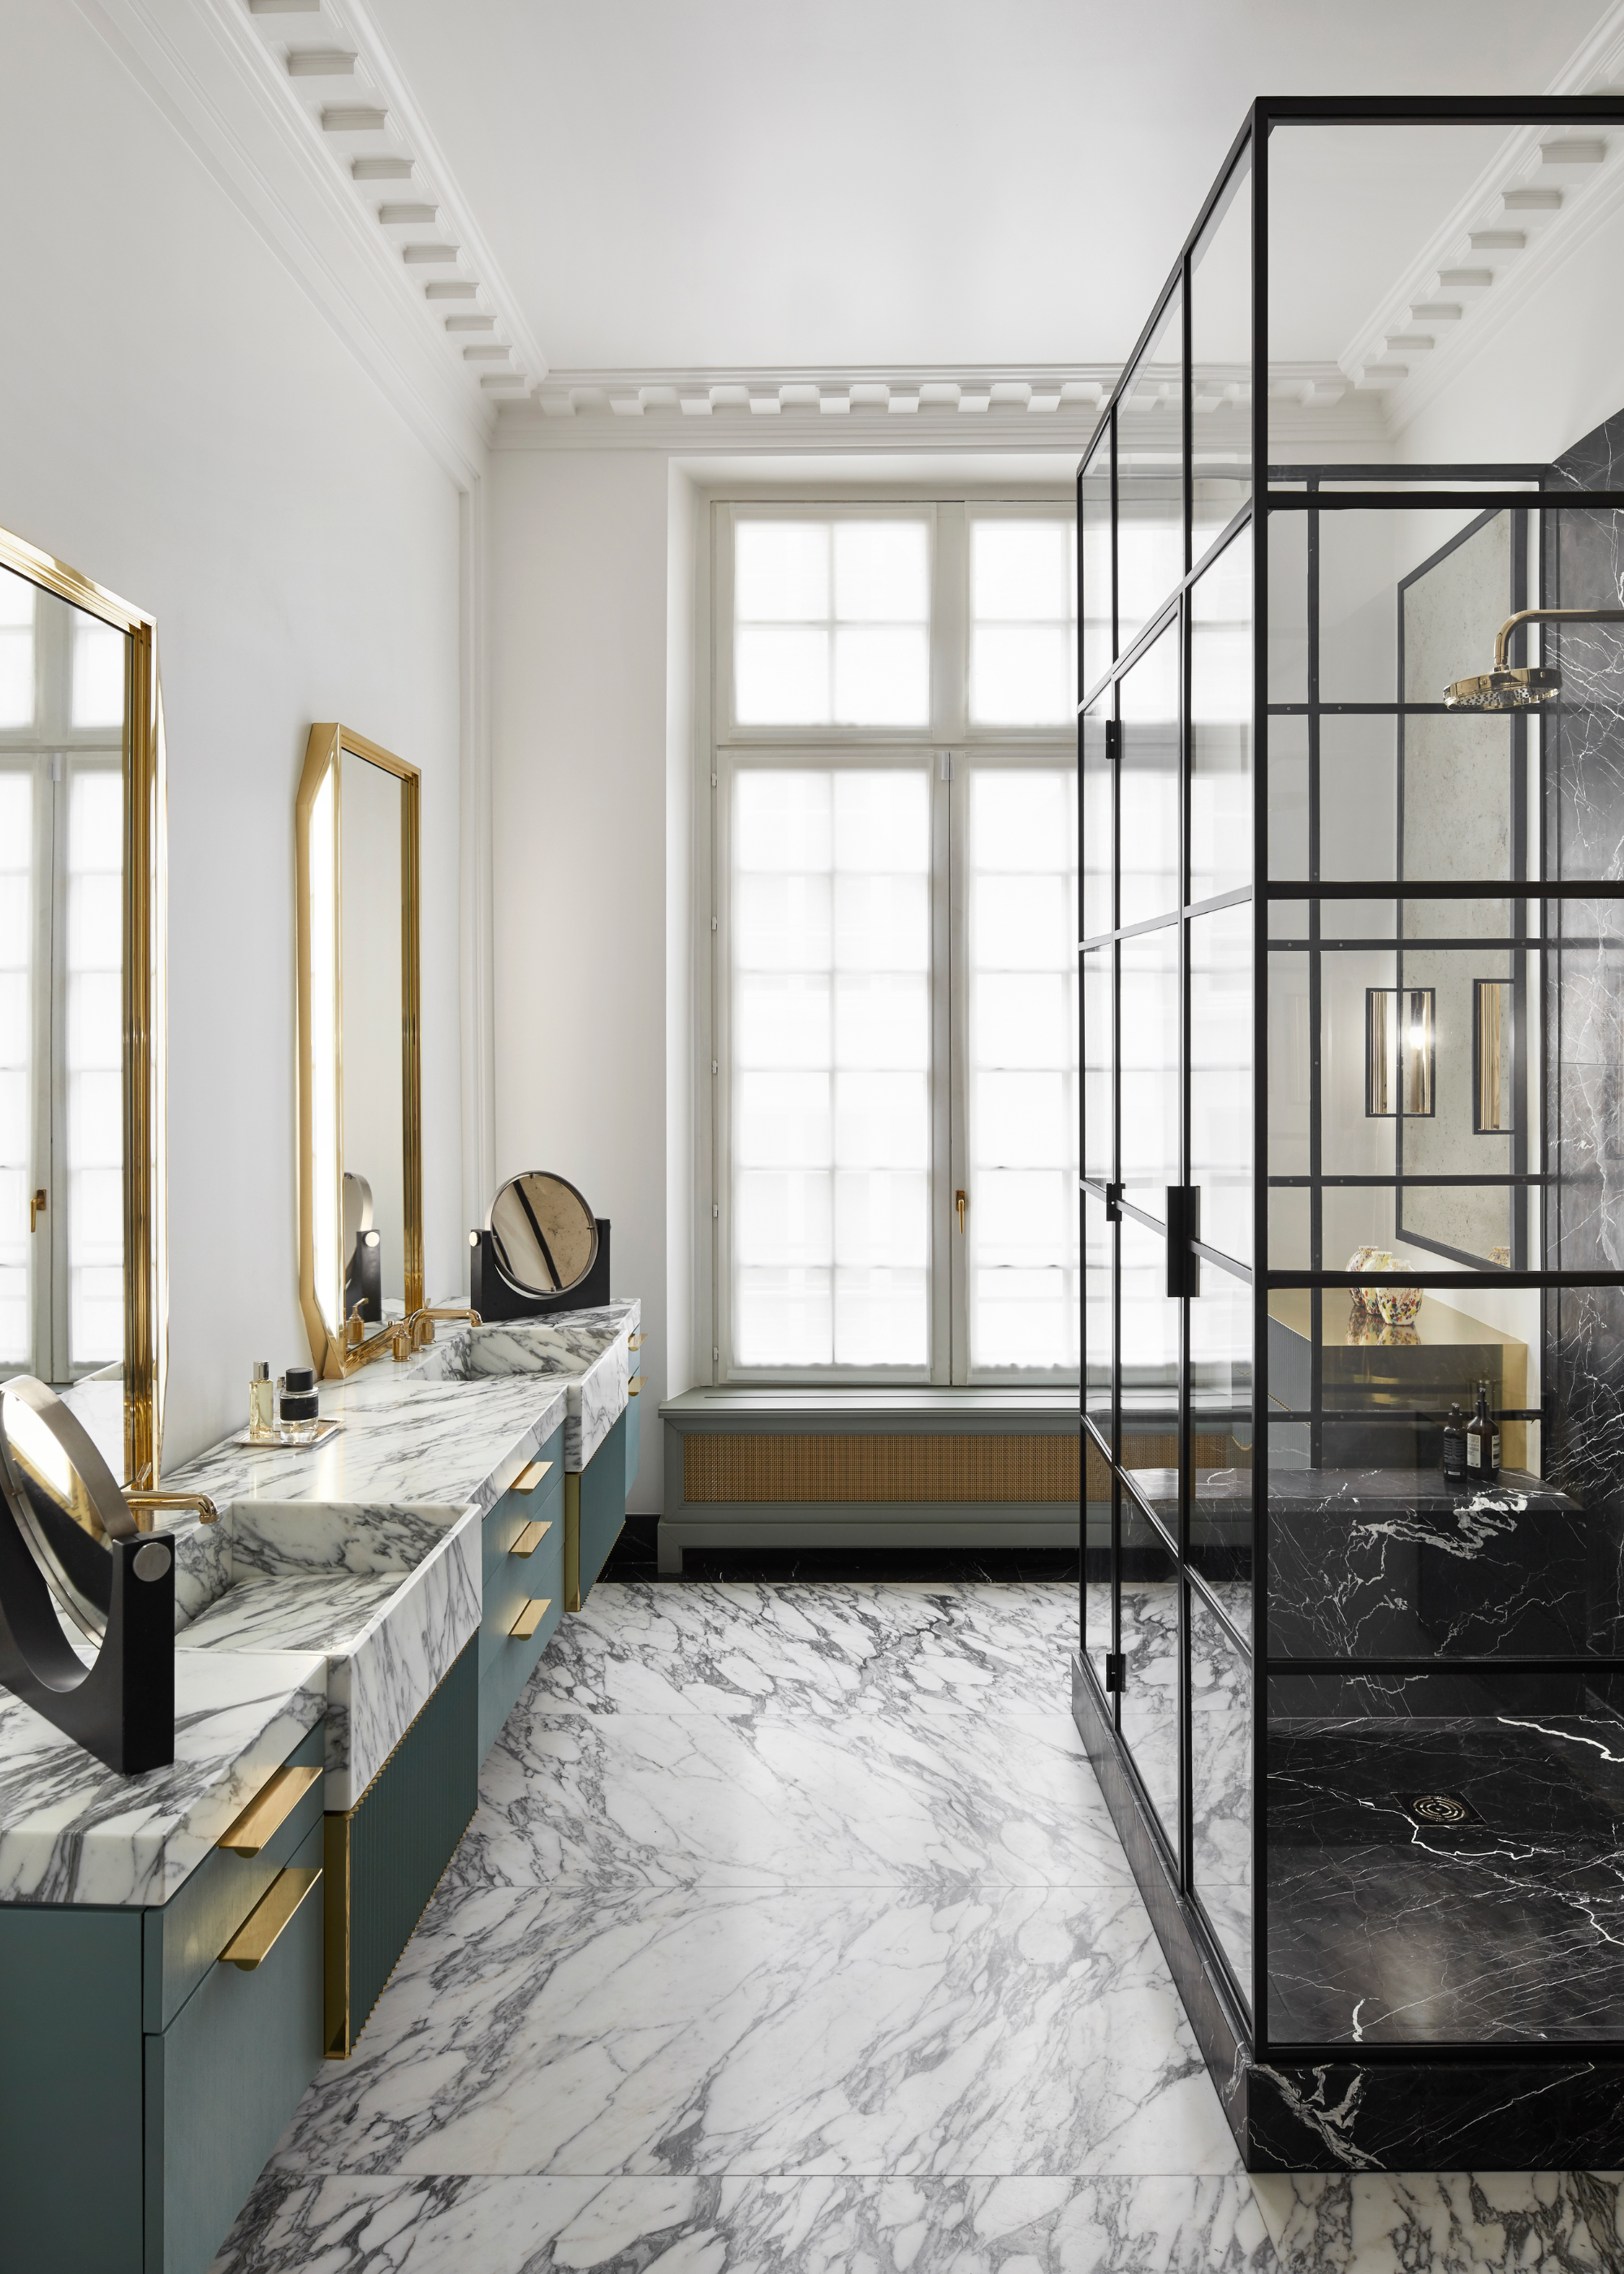
Sealing is essential with materials like marble.
(Image credit: Humbert & Poyet)
Surprisingly, some of the most popular choices in bathroom tiling trends are in fact not naturally equipped to handle this consistent exposure to water, making a high-quality sealant a necessity for these designs.
Natural materials, like marble or limestone, are highly porous, making them susceptible to staining and eventual deterioration. Which is why using a sealant like this Anti-Mould White, Waterproof Mould Protection Kitchen & Bathroom Sealant from Amazon is a must. Or this UniBond Re-new Silicone Sealant 80ml from Dunelm.
Camilla explains, “Not sealing tiles is also a common mistake, as people assume they are water resistant. If you don’t seal your tiles correctly, not only will water enter the tile, leading to mould and limescale, but they will also stain very badly.”
Most experts will recommend resealing your surfaces every 6 months for best results. “It’s really important to keep on top of cleaning and maintenance and also make sure you aren’t using harsh chemicals, which can damage a tile,” says Camilla.
3. Coming Up Short
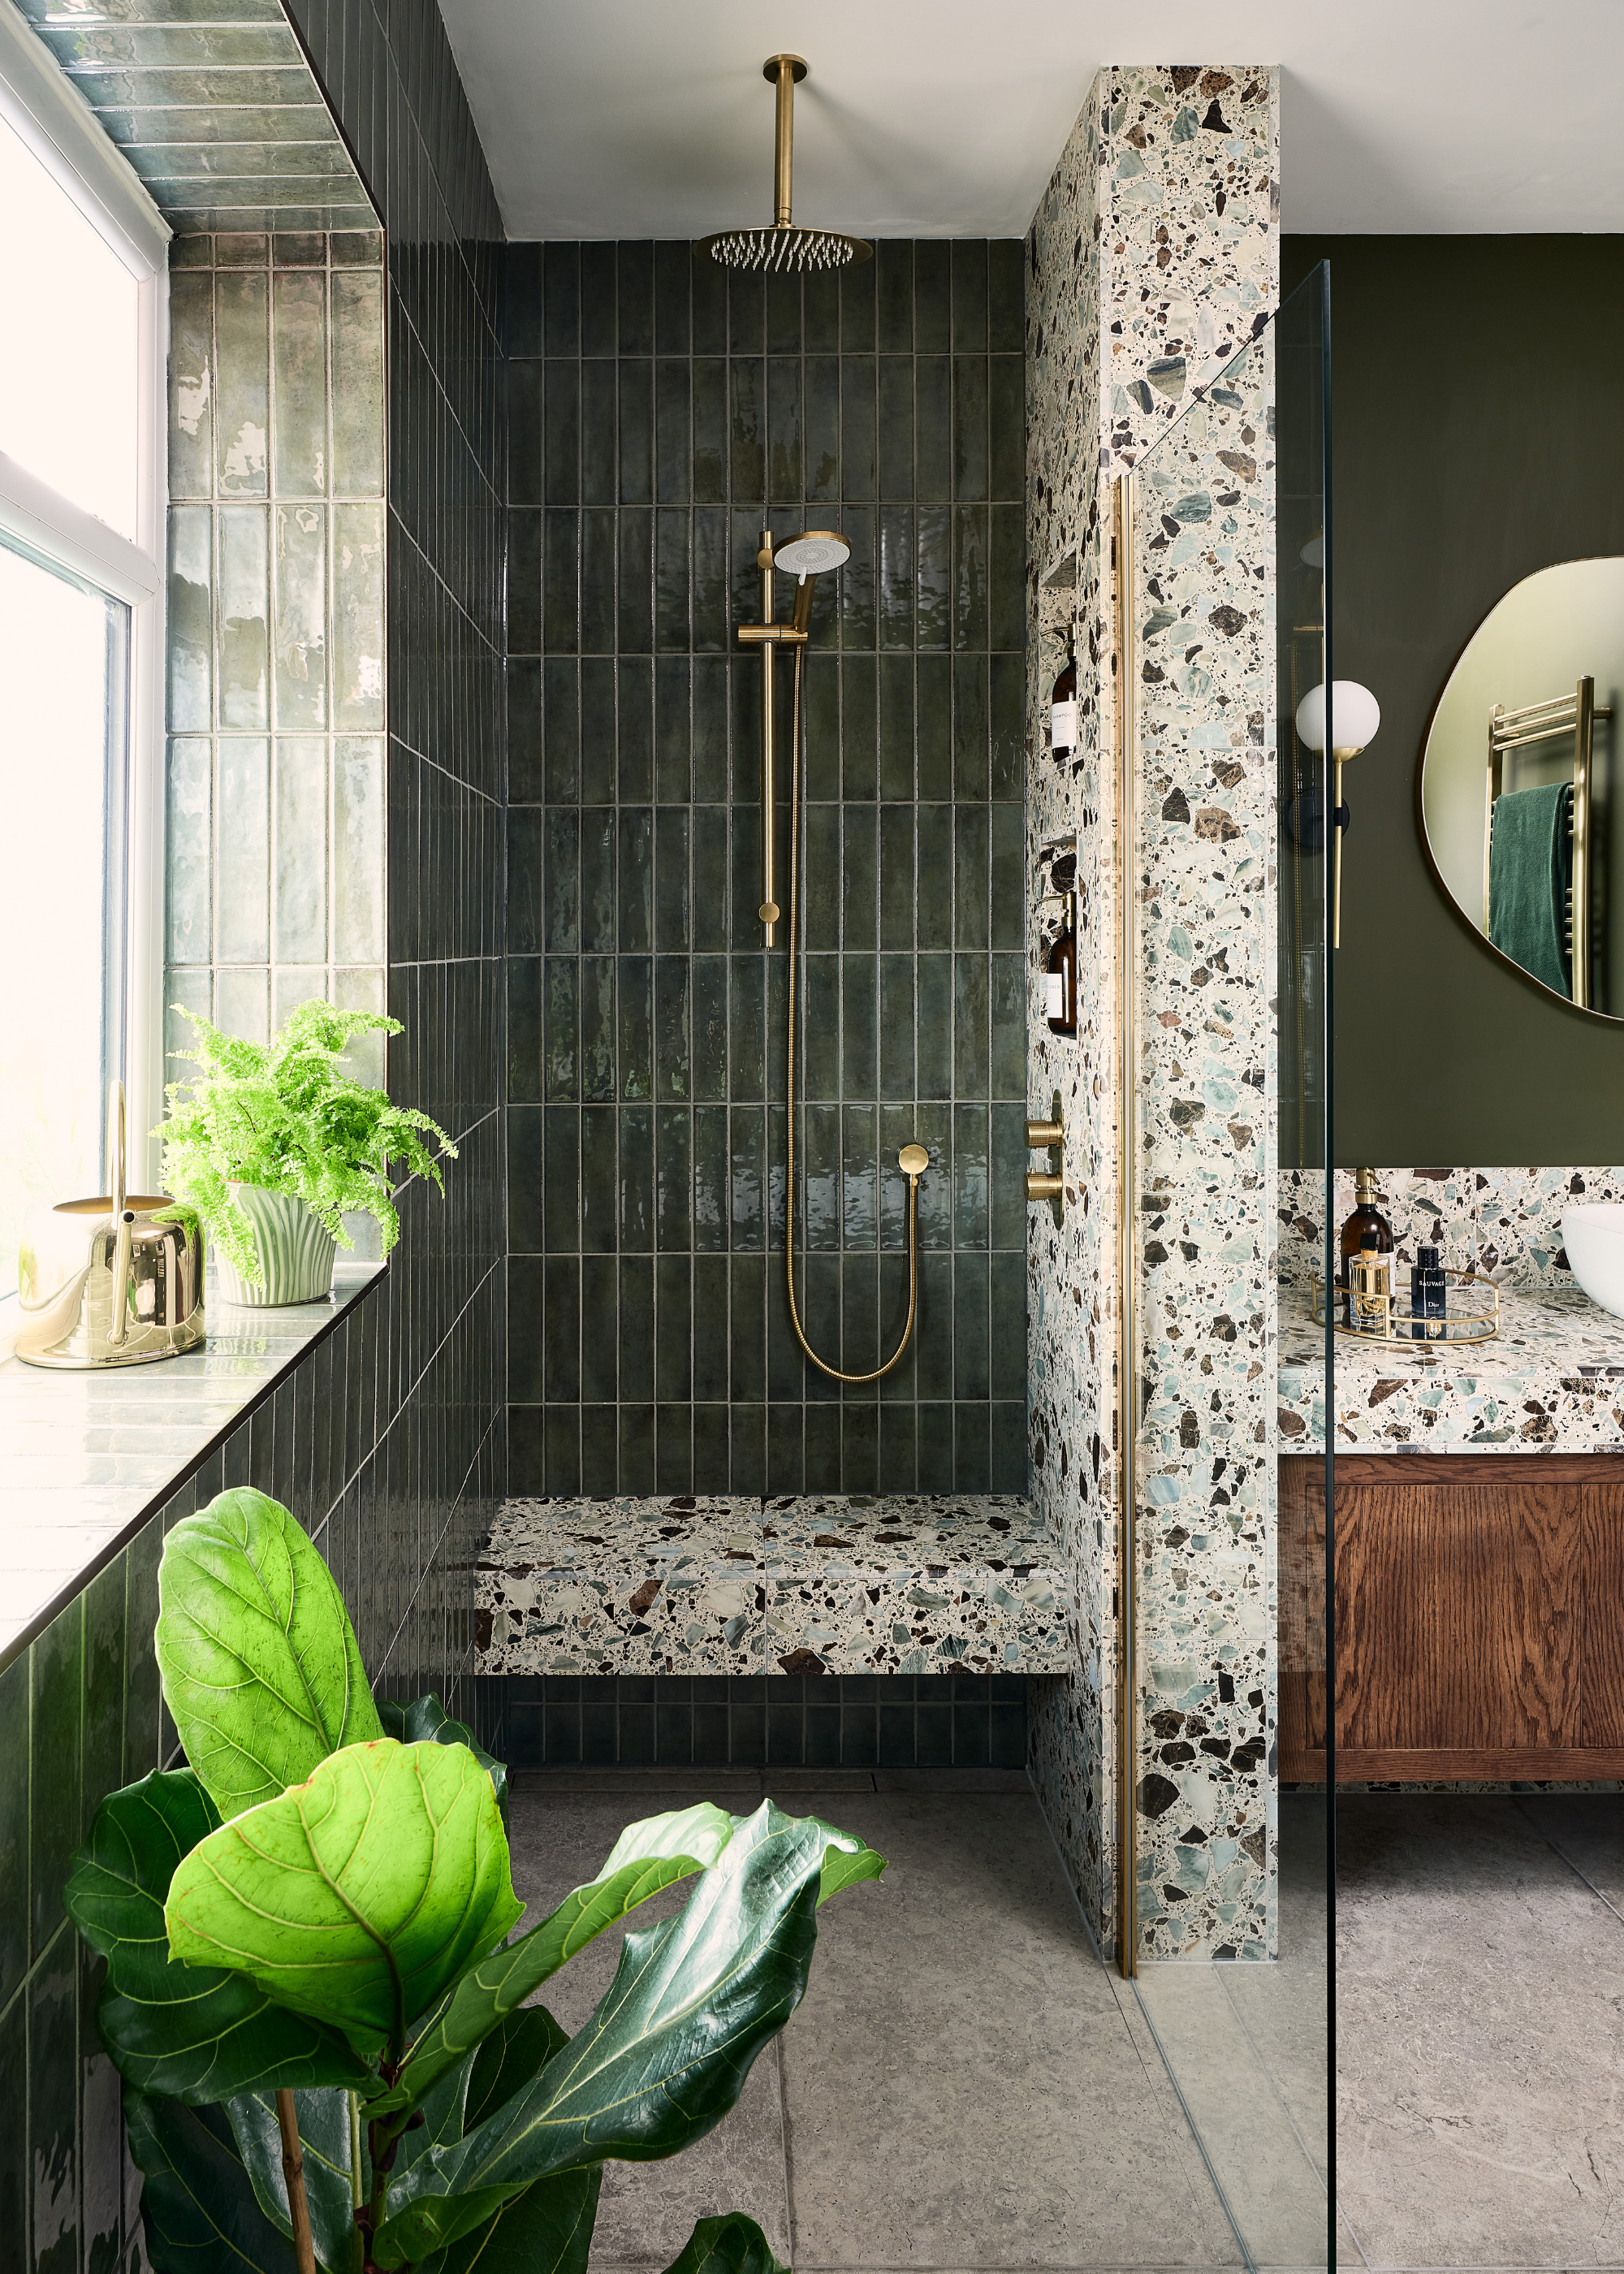
Leftover tiles can be reused for DIY projects, or in other parts of your home.
(Image credit: Ca’Pietra)
“You’ve measured, double-checked, and placed your tile order with military precision only to reach the final stretch of your renovation and realise… you’re a handful short. It’s a sinking feeling, and one that’s all too common,” says Grazzie Wilson from Ca’Pietra.
While you may be given a rough estimation before your installation begins, you can never be sure this number is completely accurate in advance, so it’s always a smart idea to order a few extras.
“Worse still, tiles are produced in batches, which means color variations can occur. So if you find yourself needing to reorder, there’s a real risk that the new tiles won’t be an exact match. Even the slightest shift in tone can be surprisingly noticeable and can cheapen an otherwise beautiful finish,” explains Grazzie.
“Our advice? Always order a little more than you think you’ll need. As a rule of thumb, we recommend at least 10% extra for standard bathroom layouts. For patterned designs like herringbone, go for 15% to be safe. It’s a small detail that makes a world of difference.”
4. Spacing Stitch Ups
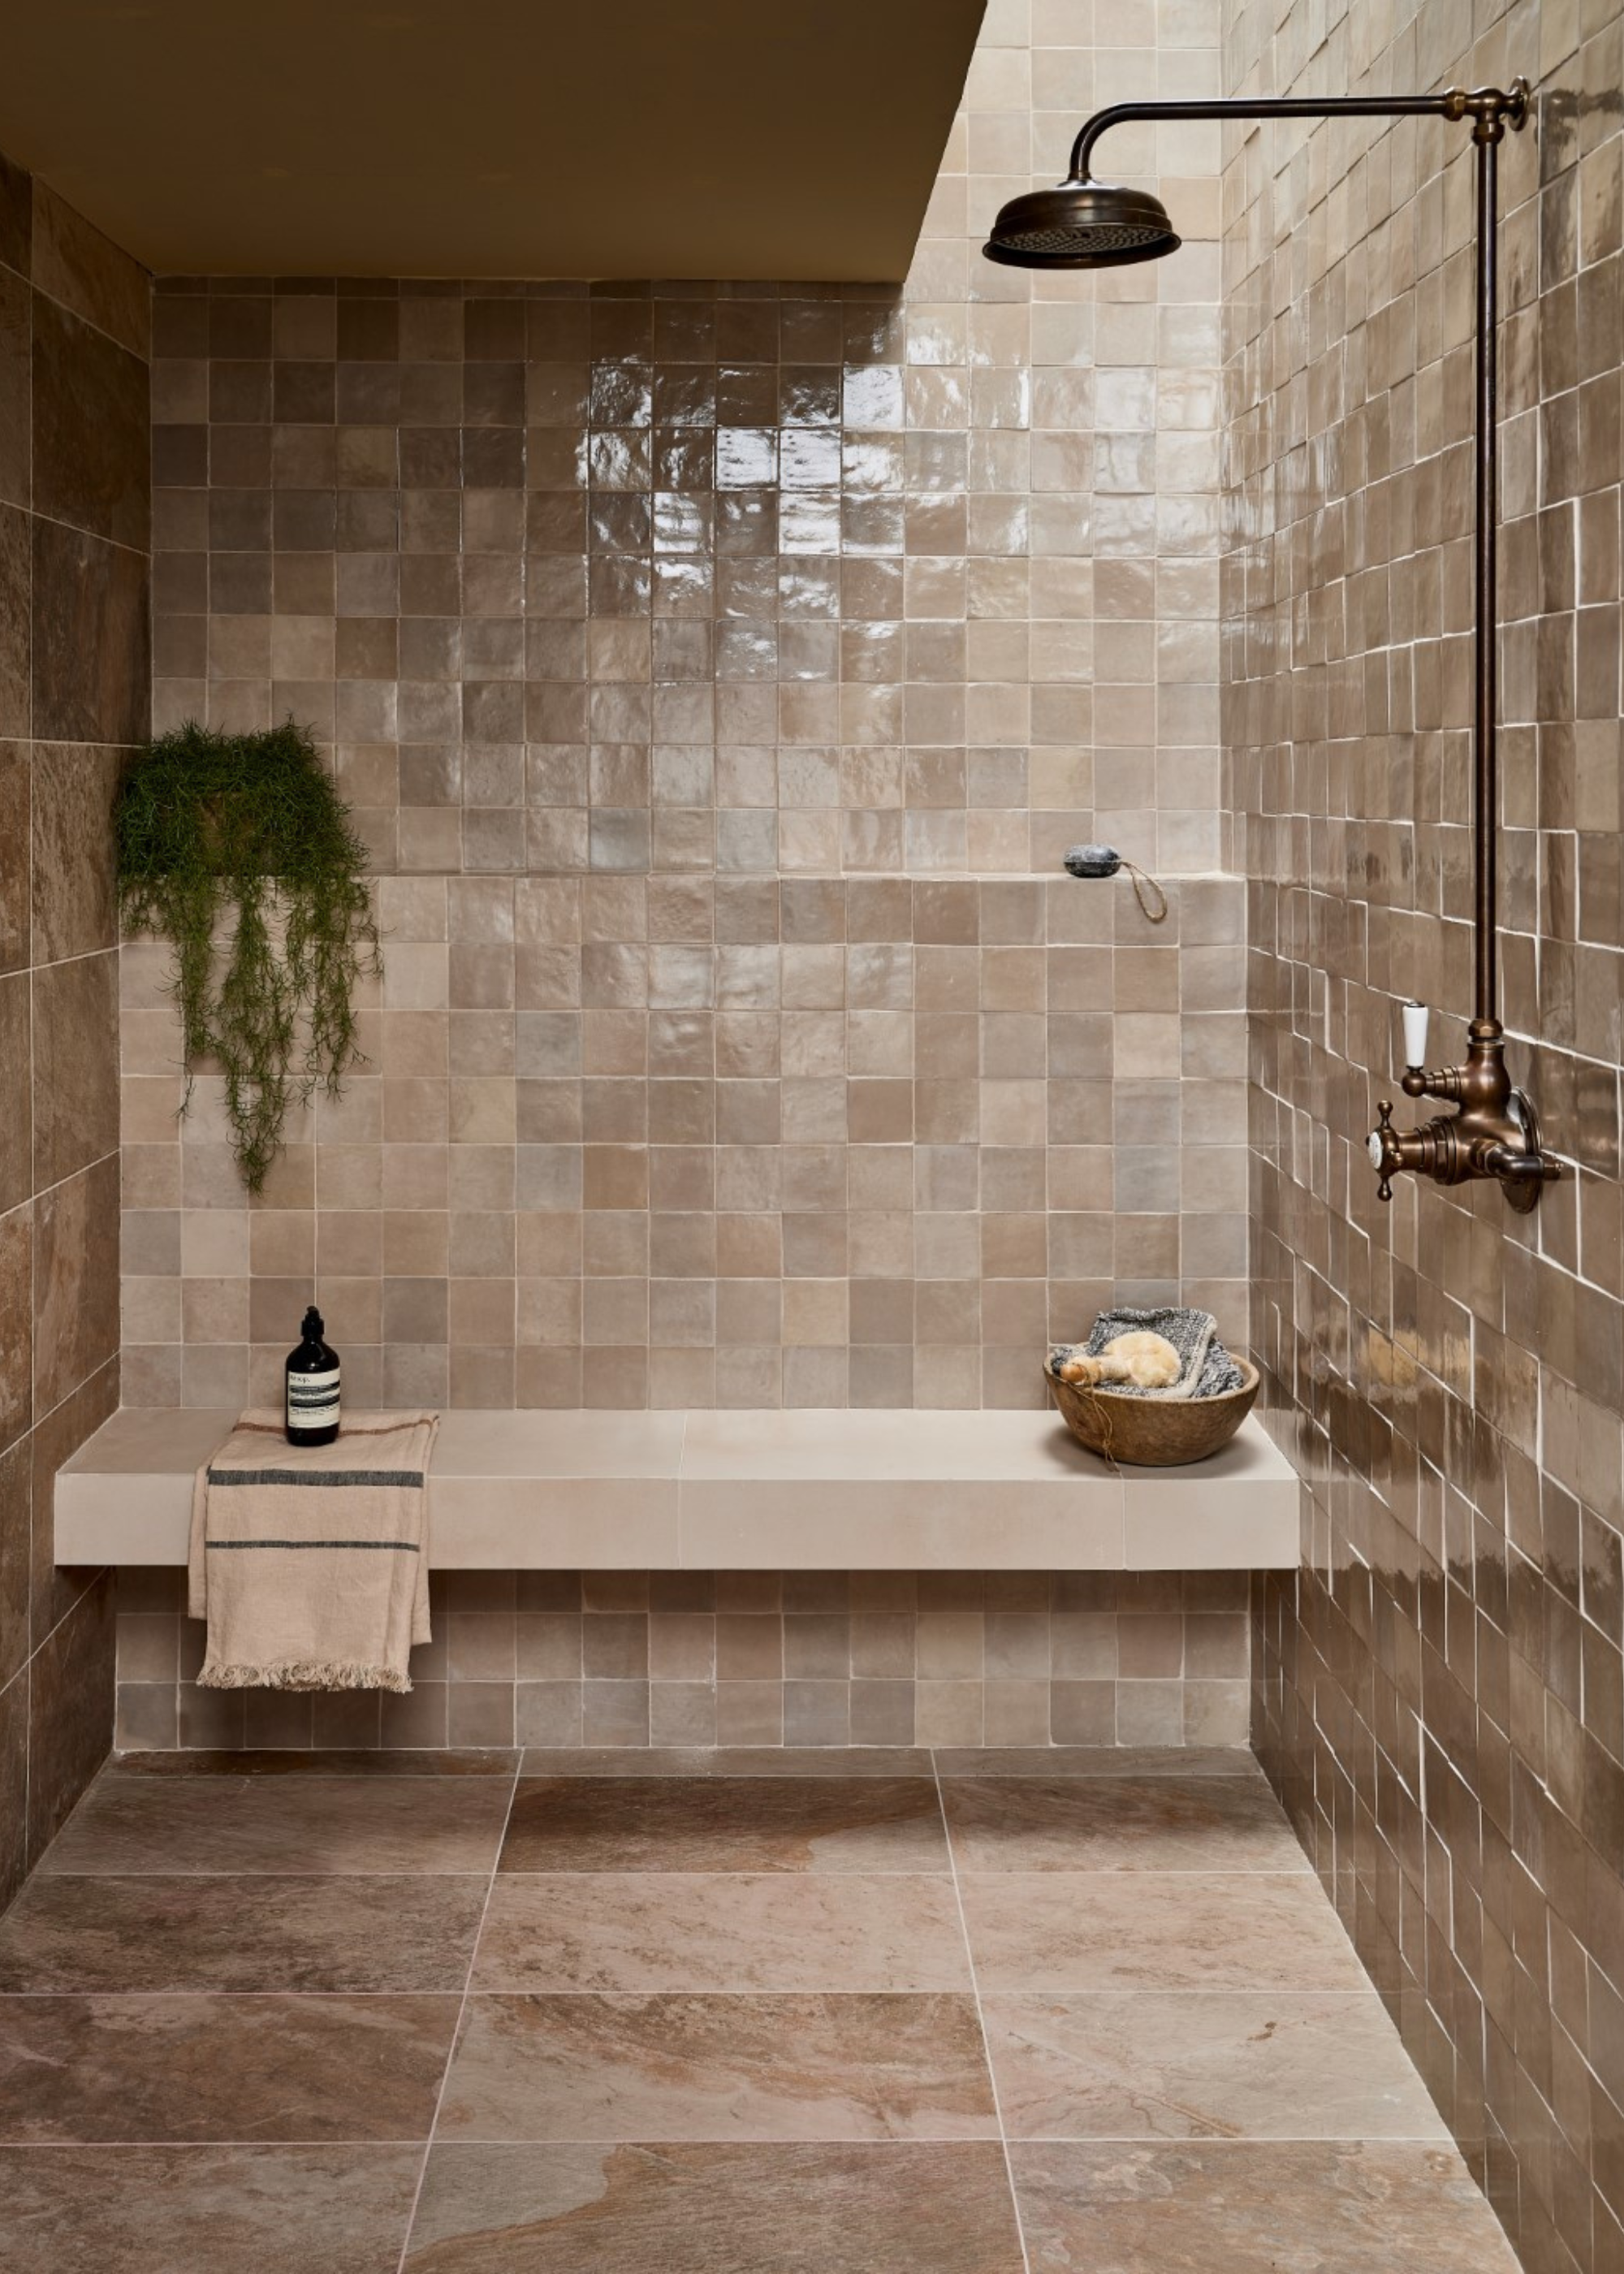
An awkward trim can ruin the look of your tiling.
(Image credit: Baked Tile Company)
The rules surrounding tiling are not a one-size-fits-all situation, and different tile styles will require different approaches. This is especially significant for the spacing of your tiles. Camilla suggests, “Always ask your tile advisor about the spacing needed for the tiles you have chosen. Zellige and bejmat tiles, for example, should have little to no space, so you don’t want to see huge chunky grout lines in between these tiles.”
The sleek finish and smaller size of these tile types make them incompatible with heavy, thick grouting. Spacing is also important to consider before laying your tiles, as an awkward layout will leave you with small gaps or slivers along the seams of your room.
“There are many things that can go wrong with a tile installation, but one of the most noticeable (and costly to fix) is poor tile layout,” says Terri, “Unless the tile and grout have been specifically selected or custom-designed to allow for a full-tile layout, cut tiles will almost always be necessary—whether at the top, bottom, or edges of a shower or tub surround. That’s expected, but what separates a well-planned and executed install from a haphazard one is how those cuts are handled.”
When done by an experienced installer, these cut tiles can look seamless and go by unnoticed, creating a luxurious, spa bathroom look, however, when done by an amateur, these slivers of tile can leave your bathroom looking cheaper.
“One major giveaway of poor planning is the appearance of thin or awkward tile slivers—especially around edges, corners, or fixtures. These tiny cuts disrupt the overall flow and cheapen the look, even when high-end tile is used,” she explains.
5. Half Way Finishes
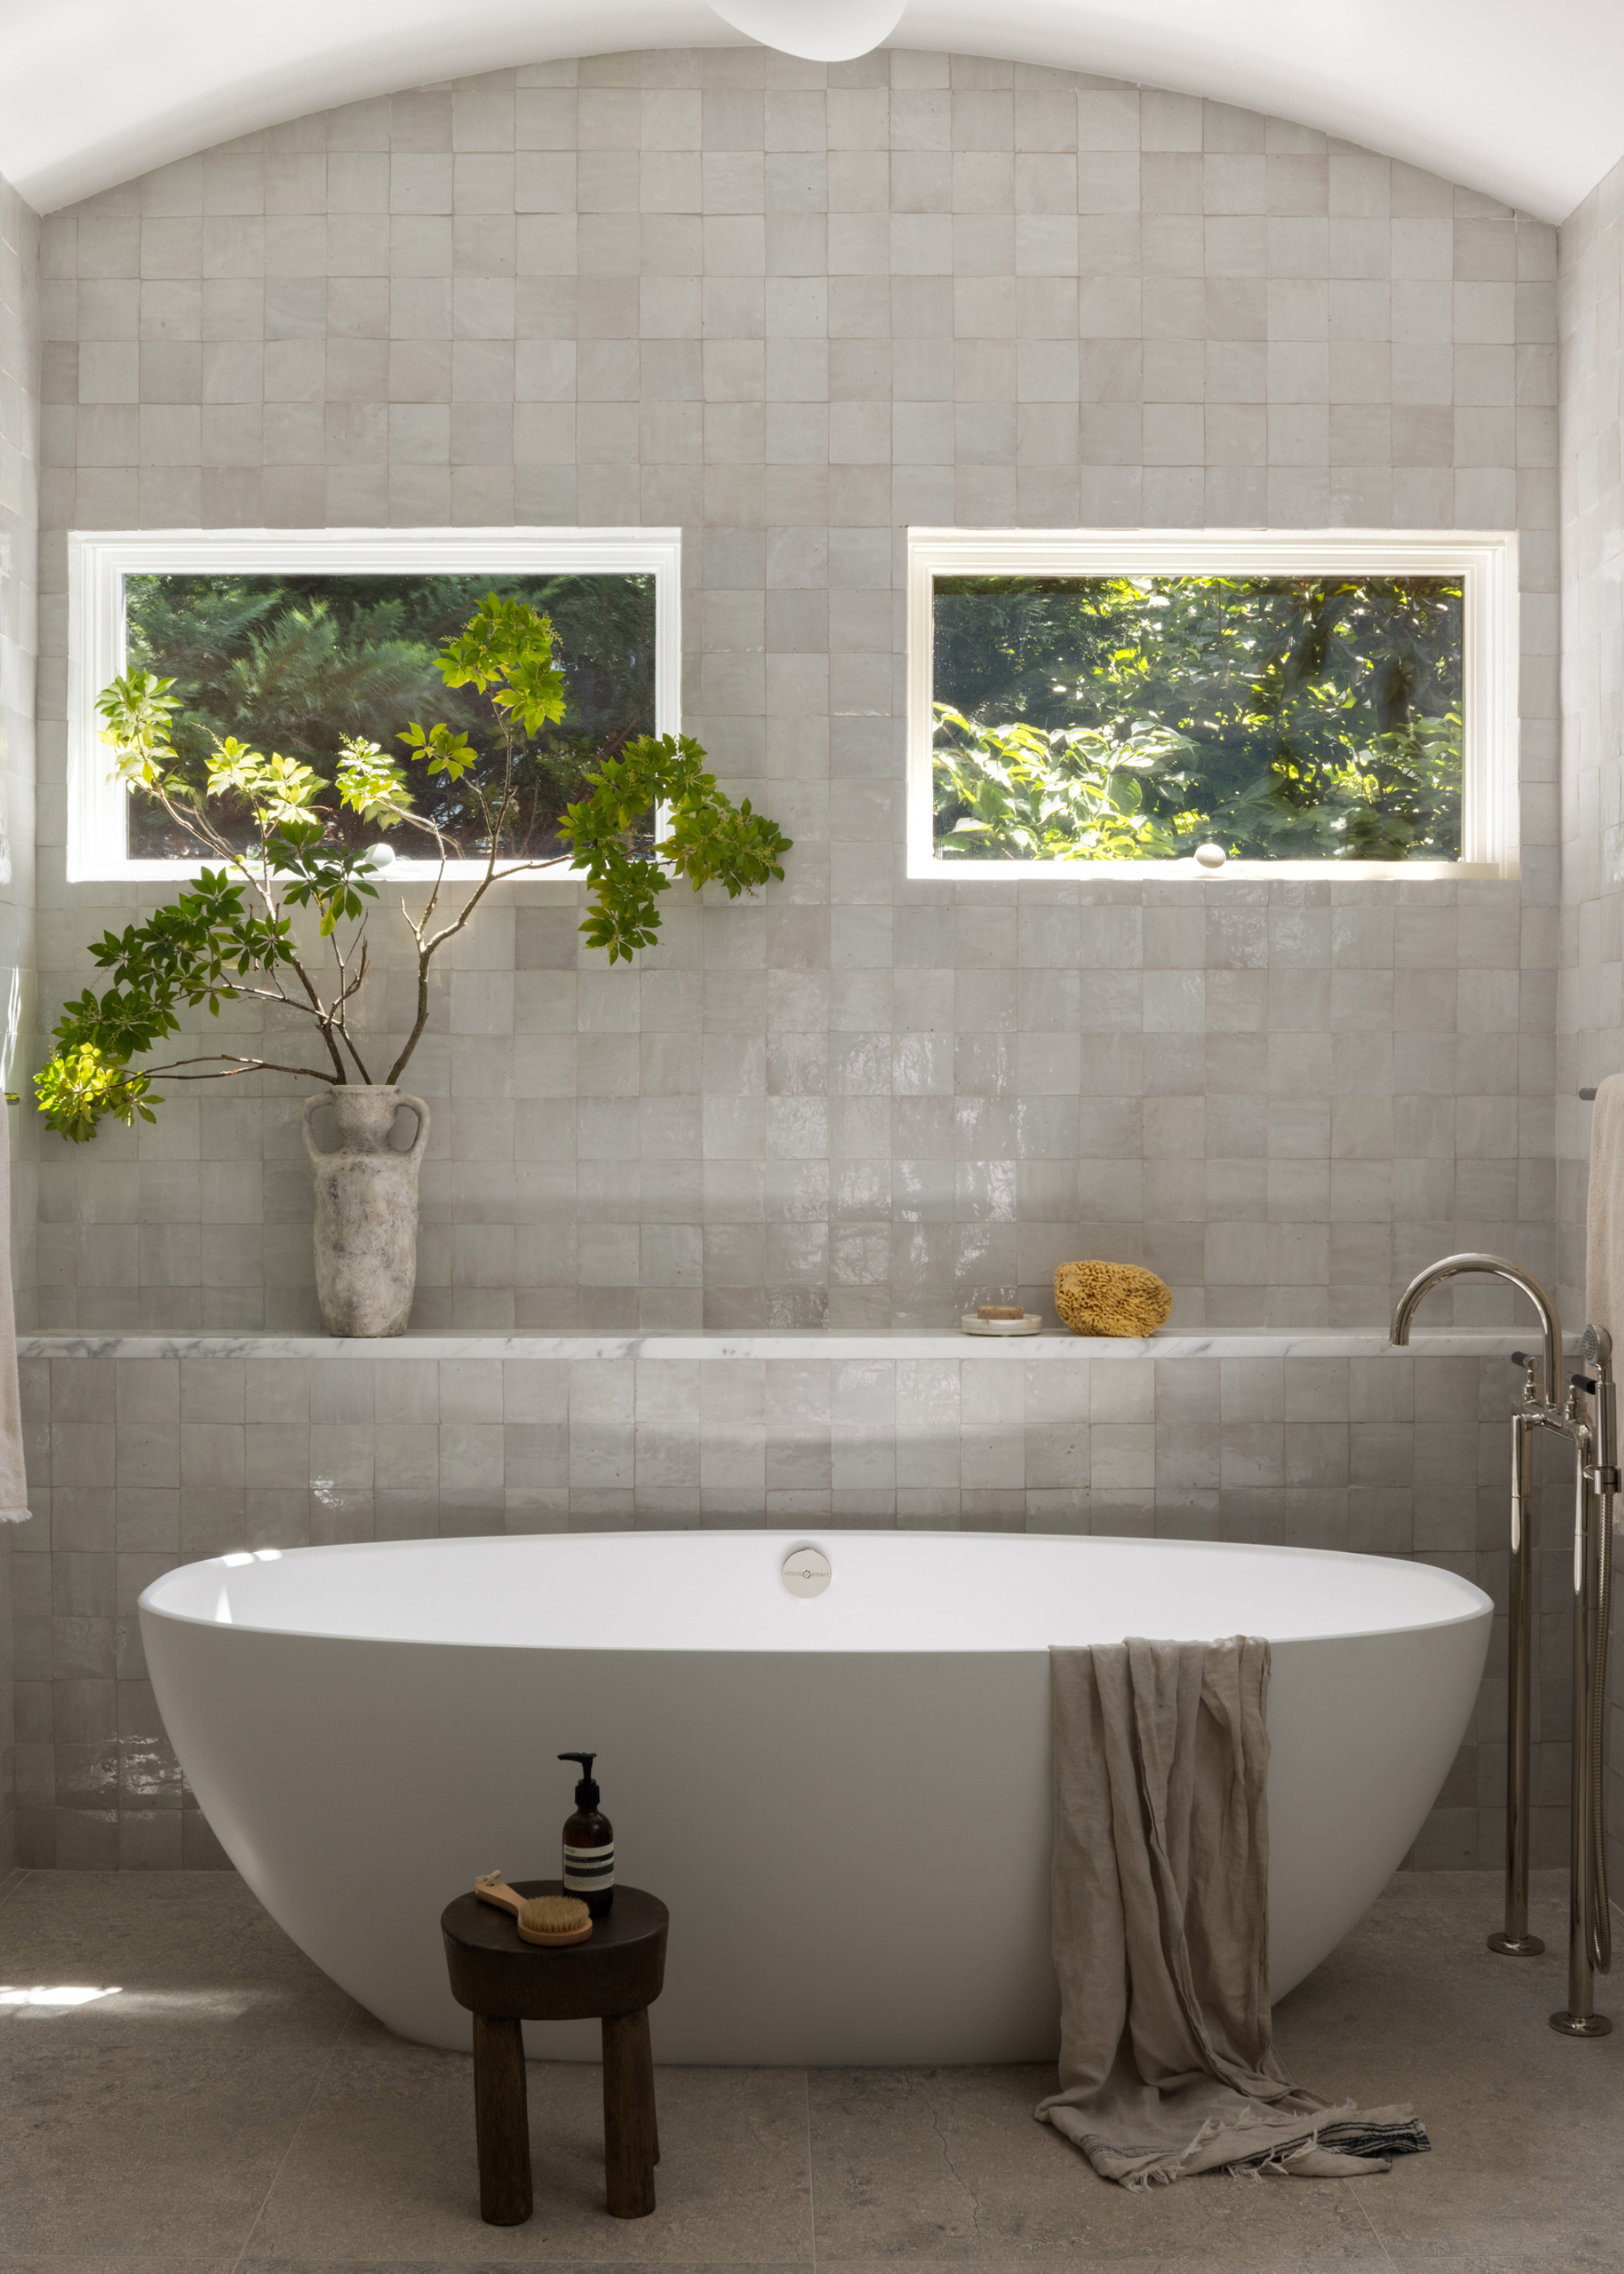
Pearl-like zellige tiles create a super luxurious feel.
(Image credit: Jenn Verrier. Design: Lorla Studio)
“The number one tile installation faux pas is ending your shower tile mid-way up the wall,” states Jennifer Jones, interior designer.
While half-height tiling was once an extremely popular approach to bathroom design, it has quickly become dated and looks more cheap than chic. Instead, opt for the full-on tile-drenching trend.
“This instantly makes your bathroom feel cheap and builder-grade. Instead, bring the shower tiles all the way up to the ceiling for a more seamless and high-end look,” says Jennifer.
6. Pay Attention to Pattern Repeats
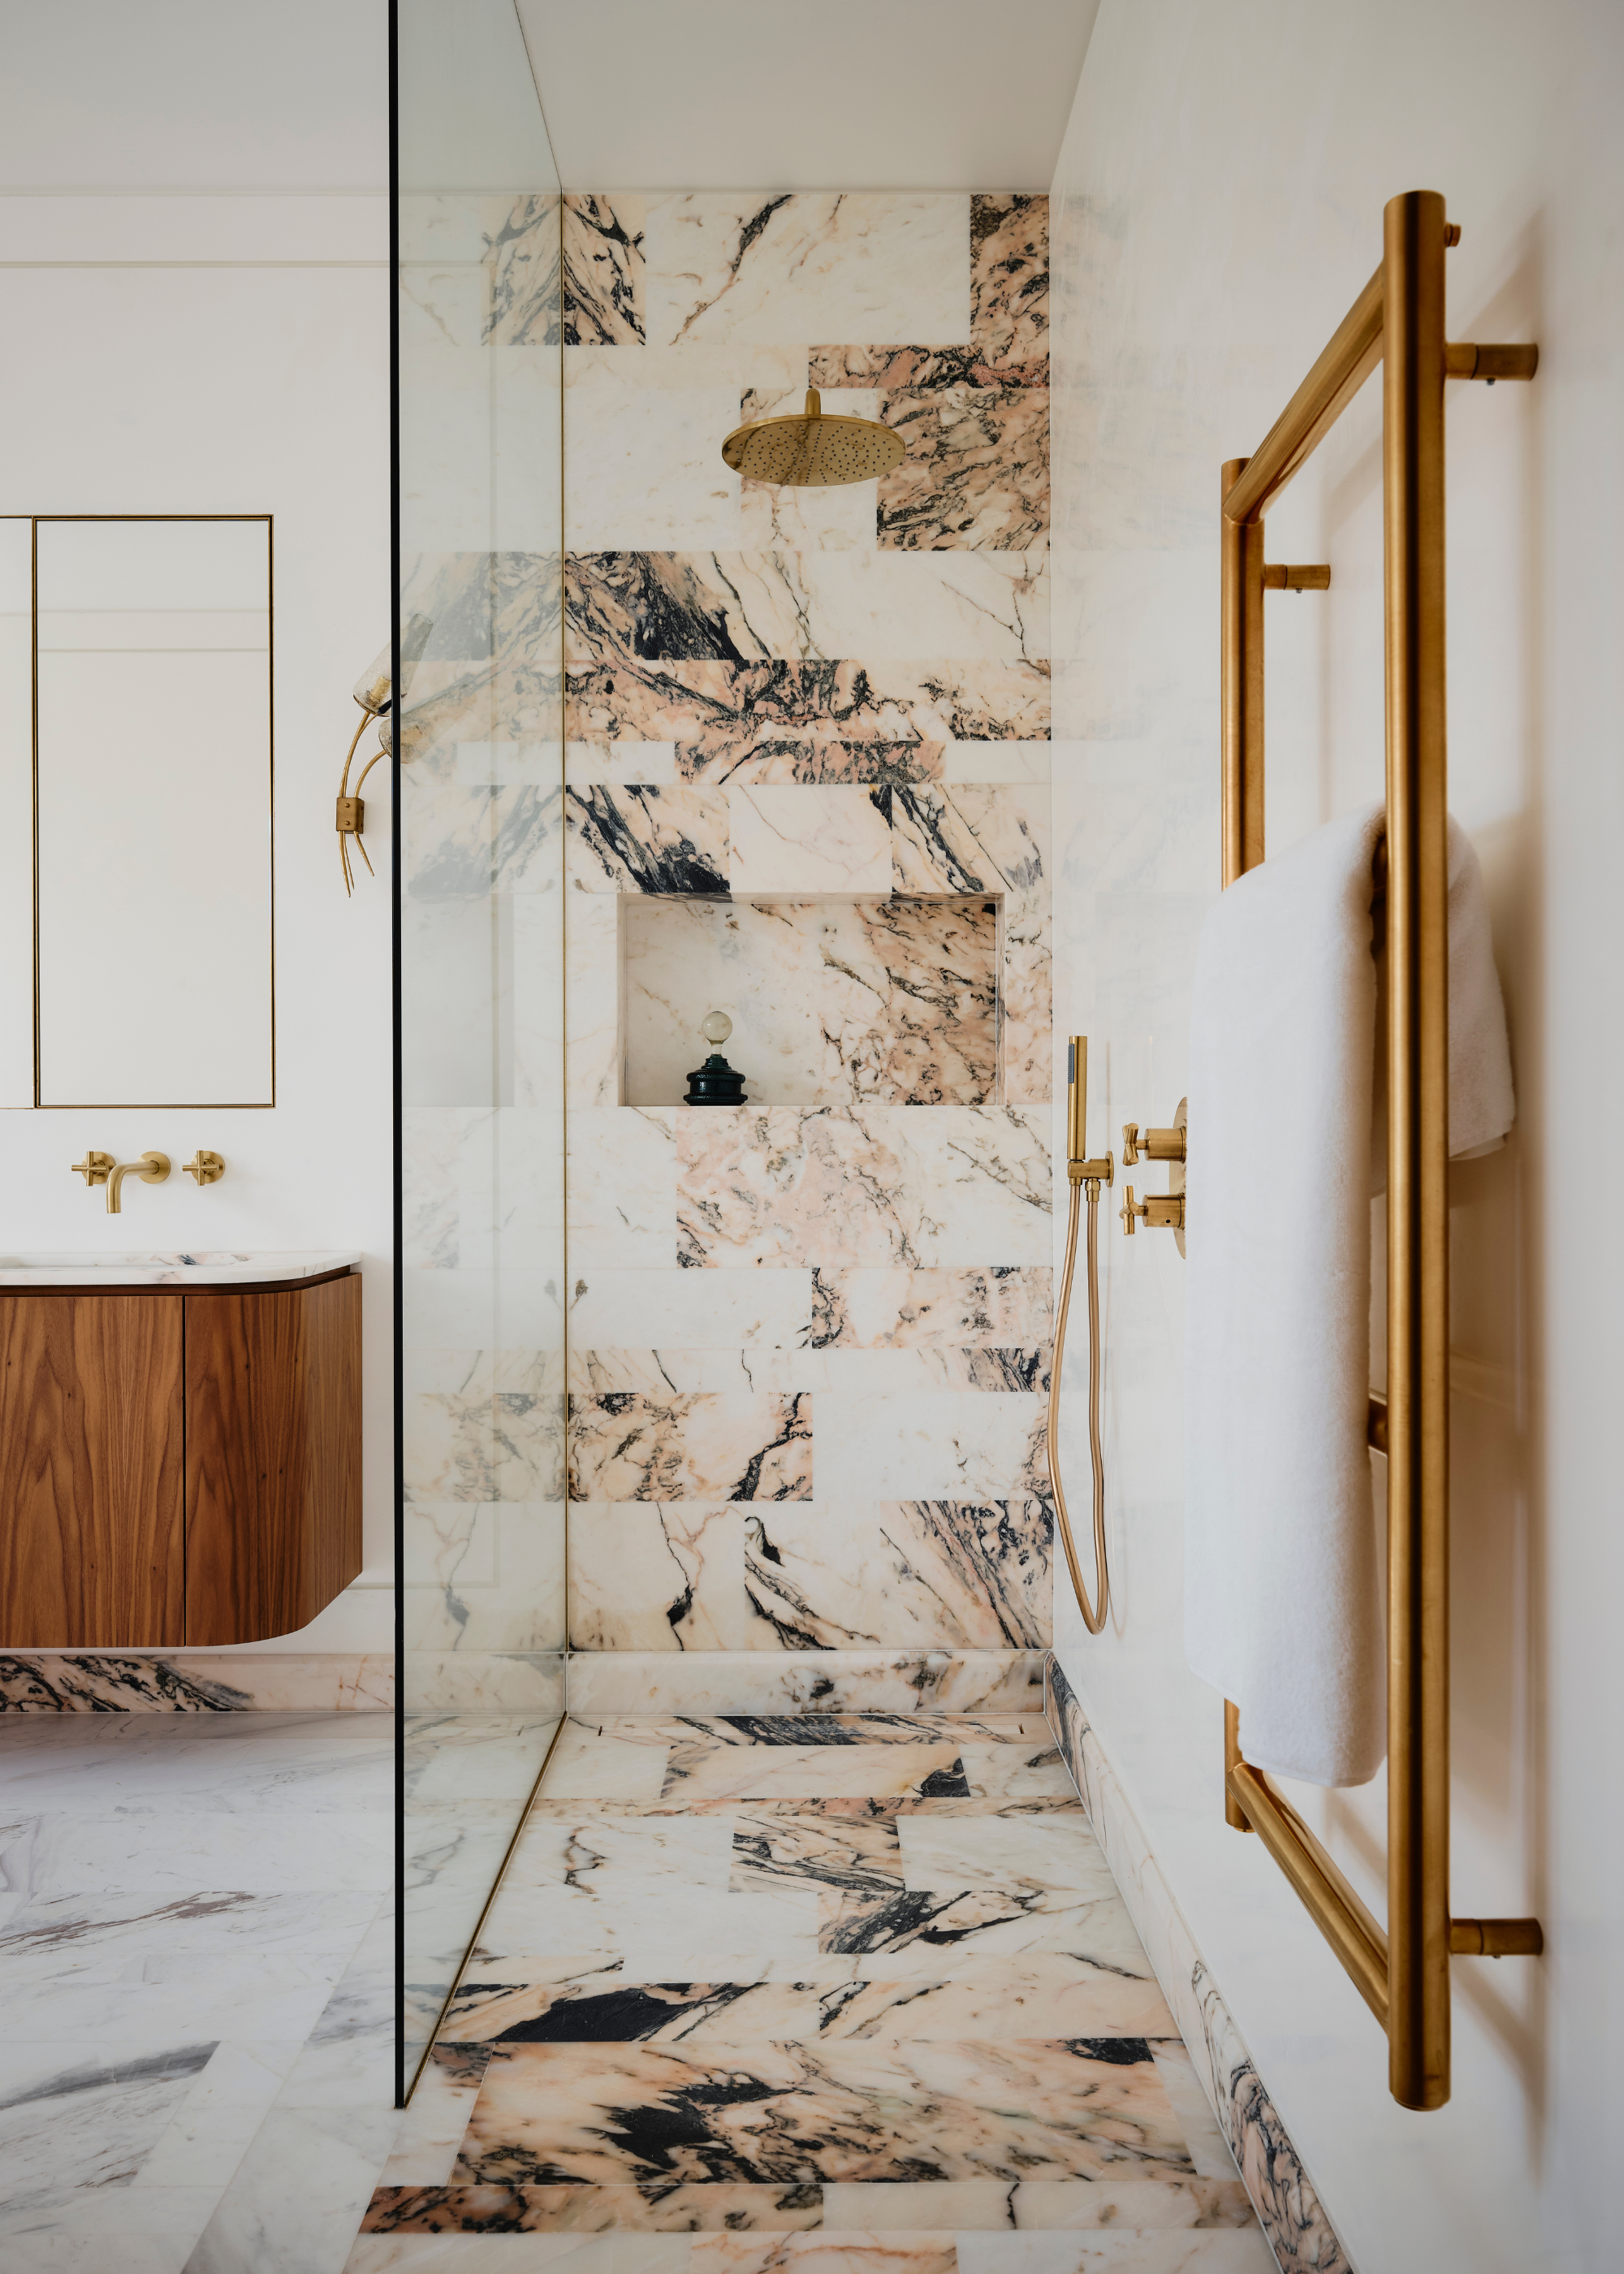
Choosing purposefully unmatched tiles mitigates the issue of repeats in pattern.
(Image credit: OWN LONDON)
While porcelain tiles make an excellent marble alternative for achieving that luxurious look with less laborious upkeep and lower costs, some additional considerations must be considered when using this material.
“Another issue I’ve come across is the use of stone-look porcelain tile without consideration for the pattern repeat,” explains Terri. “While printing technology has significantly improved, there are still many lines that only offer 7 to 12 unique “faces” (pattern variations). Limited variation means the same tile design will repeat throughout the space, making it obvious that the material isn’t natural stone—and diminishing the intended effect,” she says.
Identical tiles will immediately draw attention to the fact that your material is not an authentic natural stone, and can leave your space looking cheaper.
To avoid this, Terri suggests, “When selecting a stone-look tile, always check how many faces are included in the line. This information is usually listed on the back of the sample board or in the product specs at a showroom. Look for products printed using high-definition digital or inkjet technology for a more realistic, natural appearance.”
Additionally, she says, “Always request a dry lay before installation to preview how the pattern flows. If some repeats are inevitable, they can often be spaced out or rotated to reduce visual redundancy.”
7. Low Quality Tiles
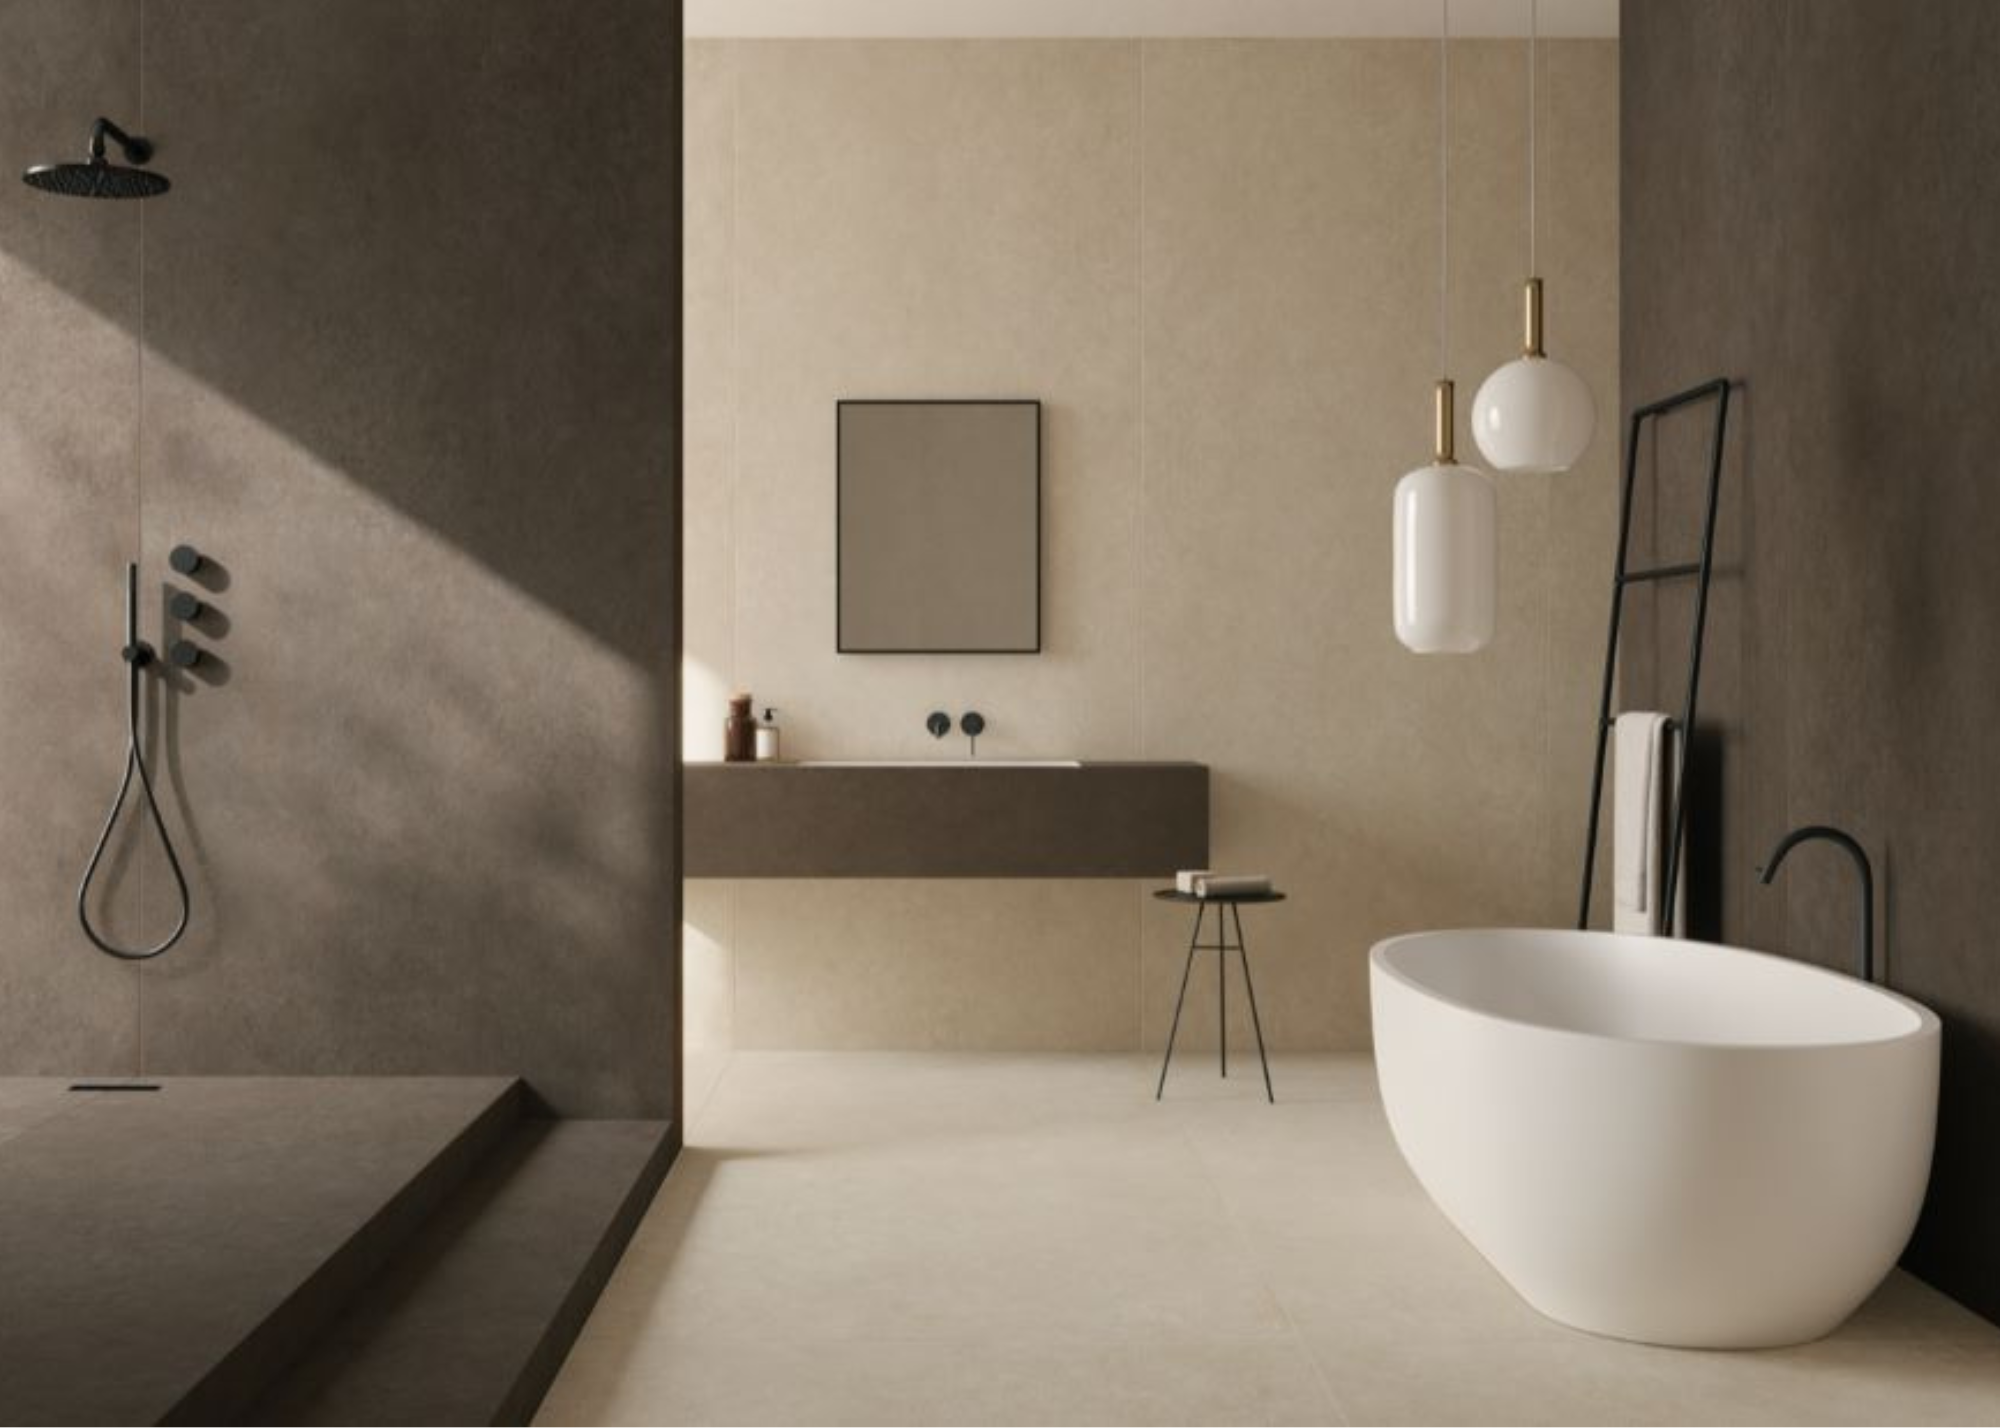
Laminams porcelain tiles offer the beauty of natural stone, with all the benefits of porcelain.
(Image credit: Laminam)
While it’s certainly true that there are some situations in which you can make low-cost shortcuts and still create a beautiful, luxurious space, your bathroom tiles are not the place to make these cuts.
“One of the biggest mistakes that can make bathroom tiling look cheap is using low-quality, thin tiles in a small size,” says Gavin Shaw, managing director at Laminam UK. “While they may appear sleek at first, they are often very difficult to keep clean with so many grout lines, and low-quality tiles are likely to chip much more easily.”
Although you may think you’re making a smart choice in the beginning, laborious upkeep and constant chipping will quickly make you regret your decision.
“Instead, opt for large-format porcelain slabs. These offer a seamless, high-end look with fewer grout lines, creating a sense of space and luxury. Laminam’s ultra-thin yet durable porcelain surfaces are resistant to moisture, stains, scratches, and daily wear, ensuring a timeless and sophisticated bathroom design that lasts,” says Gavin.
Now that you know all the mistakes to avoid, it’s time for the fun part. Once your tiling is picture perfect, there’s plenty of space to play around with fun finishes elsewhere, we’re loving the step-up bathtub trend, or, if you’re more into showers, why not add some more comfort to the experience with a built-in shower bench.


