Orchids Can Be Pretty Fickle—Here’s How to Keep Them From Dying

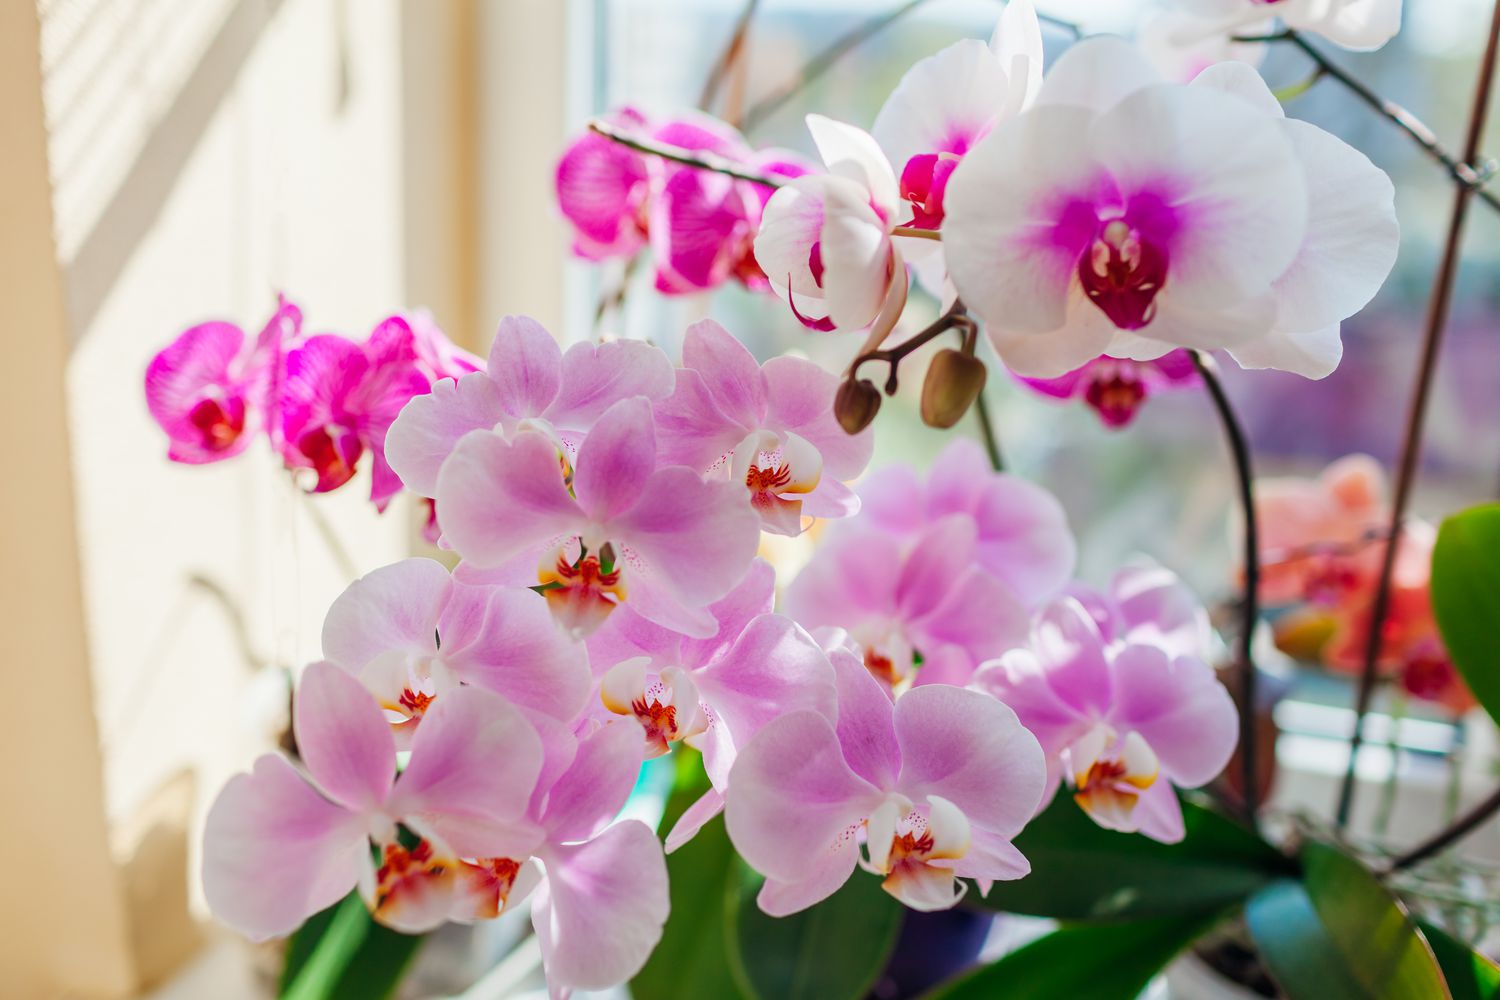
When it comes to displaying flowers in your home, orchids tend to exude a certain sophistication that other flowers—sometimes even a varied bouquet—can’t match. When they’re in full bloom, orchids are upscale yet playful, confident yet charming. But unfortunately, all of those attributes come with a catch: Orchids are really easy to kill.
To be fair, no one buys an orchid with the intent to watch it die. In fact, many people will do their darndest to keep these fickle beauties alive, only to be left with sad branches. Don’t worry, even professional gardeners understand. “Orchids can be tricky because they require specific care and conditions that are different from many common houseplants,” says garden designer and consultant Claudia de Yong. So, don’t take it too personally if an orchid has died under your watch. Here’s what you should know and do to keep your next orchid alive and thriving.
- Claudia de Yong, a multi-award-winning garden designer and consultant based in the U.K.
Why Are Orchids So Easy to Kill?
Orchids are extra sensitive to overwatering and inconsistent temperatures, de Yong says, and they need proper humidity and air circulation to thrive. A pot that allows water to drain easily is essential, too. With all of these particularities in mind, it’s no wonder green thumbs and beginner gardeners alike can struggle to keep orchids alive.
It’s also possible that you’ve thought your orchid was dying when it really wasn’t. “People often don’t realize that orchids go through a dormant period after blooming, which can make them seem unhealthy when they’re really just resting,” de Yong adds.
Nevertheless, there are a few thoughtful changes you can make to your routine so that these blooms grow effortlessly under your care.
How to Keep Your Orchid Alive and Thriving
You can do this. Below, de Yong shares how to keep orchids alive, and how to save them from an untimely end.
Start With the Right Soil
In order for your orchid to bloom in regular intervals, you should start by planting them in their preferred soil. And guess what? That’s not traditional potting soil. “They require a specialized orchid mix that is well-draining,” de Yong says. “A typical orchid mix might include components like bark, perlite, coconut husk, and sphagnum moss.”
The specific ingredients of this soil allow air to better circulate around the roots, without stripping them of moisture in the process. And the bark pieces resemble how an orchid would grow in the wild, on tree branches, making it feel at home.
Place the Soil in the Ideal Pot and Place
Once you’ve secured the right soil, it’s time to find the appropriate pot for your orchid. “For orchids, a well-draining pot is essential,” de Yong says. “Orchids don’t like to sit in standing water, so the drainage is critical to prevent root rot. Clear plastic pots are often preferred because they allow light to reach the roots, and you can see their condition.”
De Yong recommends a pot that’s up to two inches larger than the orchid’s root ball, which will give it room to grow but not too much space to become oversized—that can lead to issues retaining water. “You can repot your orchid every two-to-three years, especially if the potting mix has broken down and is retaining too much moisture,” she adds.
As for the right spot for your orchid pot, de Yong says that orchids do best in bright and indirect sunlight—direct sunlight can damage their fragile petals. “A northeast or east-facing window works well for many types of orchids, providing morning sunlight without the intensity of midday sun,” she says.
Water on a Schedule
You might be eager to see your orchid bloom, but don’t be tempted to overwater it in the process. Stick to a schedule of watering your orchid about once a week in the spring and summer, and every 10 days to two weeks in the autumn and winter. “The key is to let the plant dry out a little between waterings,” de Yong says. “You can test this by sticking your finger into the soil mix. If it feels dry, it’s time to water. If it feels moist, wait another few days. Overwatering is one of the biggest mistakes with orchids, so it’s important to avoid letting them sit in water.”
De Yong notes that you should either use room-temperature water that’s been boiled, or rainwater for best results. Just make sure that there’s no standing water for the orchid to sit in after watering as that’ll lead to root rot.
Lastly, your orchid’s overall environment should be considered, too. “Orchids love humidity, so if your home is dry, you can place a shallow tray of pebbles with water under the pot and mist the plant occasionally,” de Yong adds. “Make sure your plant is in a stable, warm environment that’s ideally between 60 and 80 degrees Fahrenheit.”
What to Do to Revive an Orchid
Despite your best intentions, sometimes an orchid’s care goes wrong. If you’ve noticed that yours is on its last lap, there are still a few steps you can take to try and revive it.
“First, assess your orchid by looking at the roots and leaves for any signs of distress,” de Yong says. “Orchids are also susceptible to viral, fungal, and bacterial diseases, which all produce different symptoms. Make sure when dealing with a sickly orchid, any tools you use are clean. Doing so will avoid spreading infection to other plants.” Isolate the orchid, if needed, and remove any dead or diseased areas. If there are cuts present, de Yong suggests treating them with a fungicide.
“You’ll want to decrease any watering and humidity as the plant recovers, and replace the soil,” she says. “Make sure you have cleaned the pot well before repotting, using a mild soap solution.”