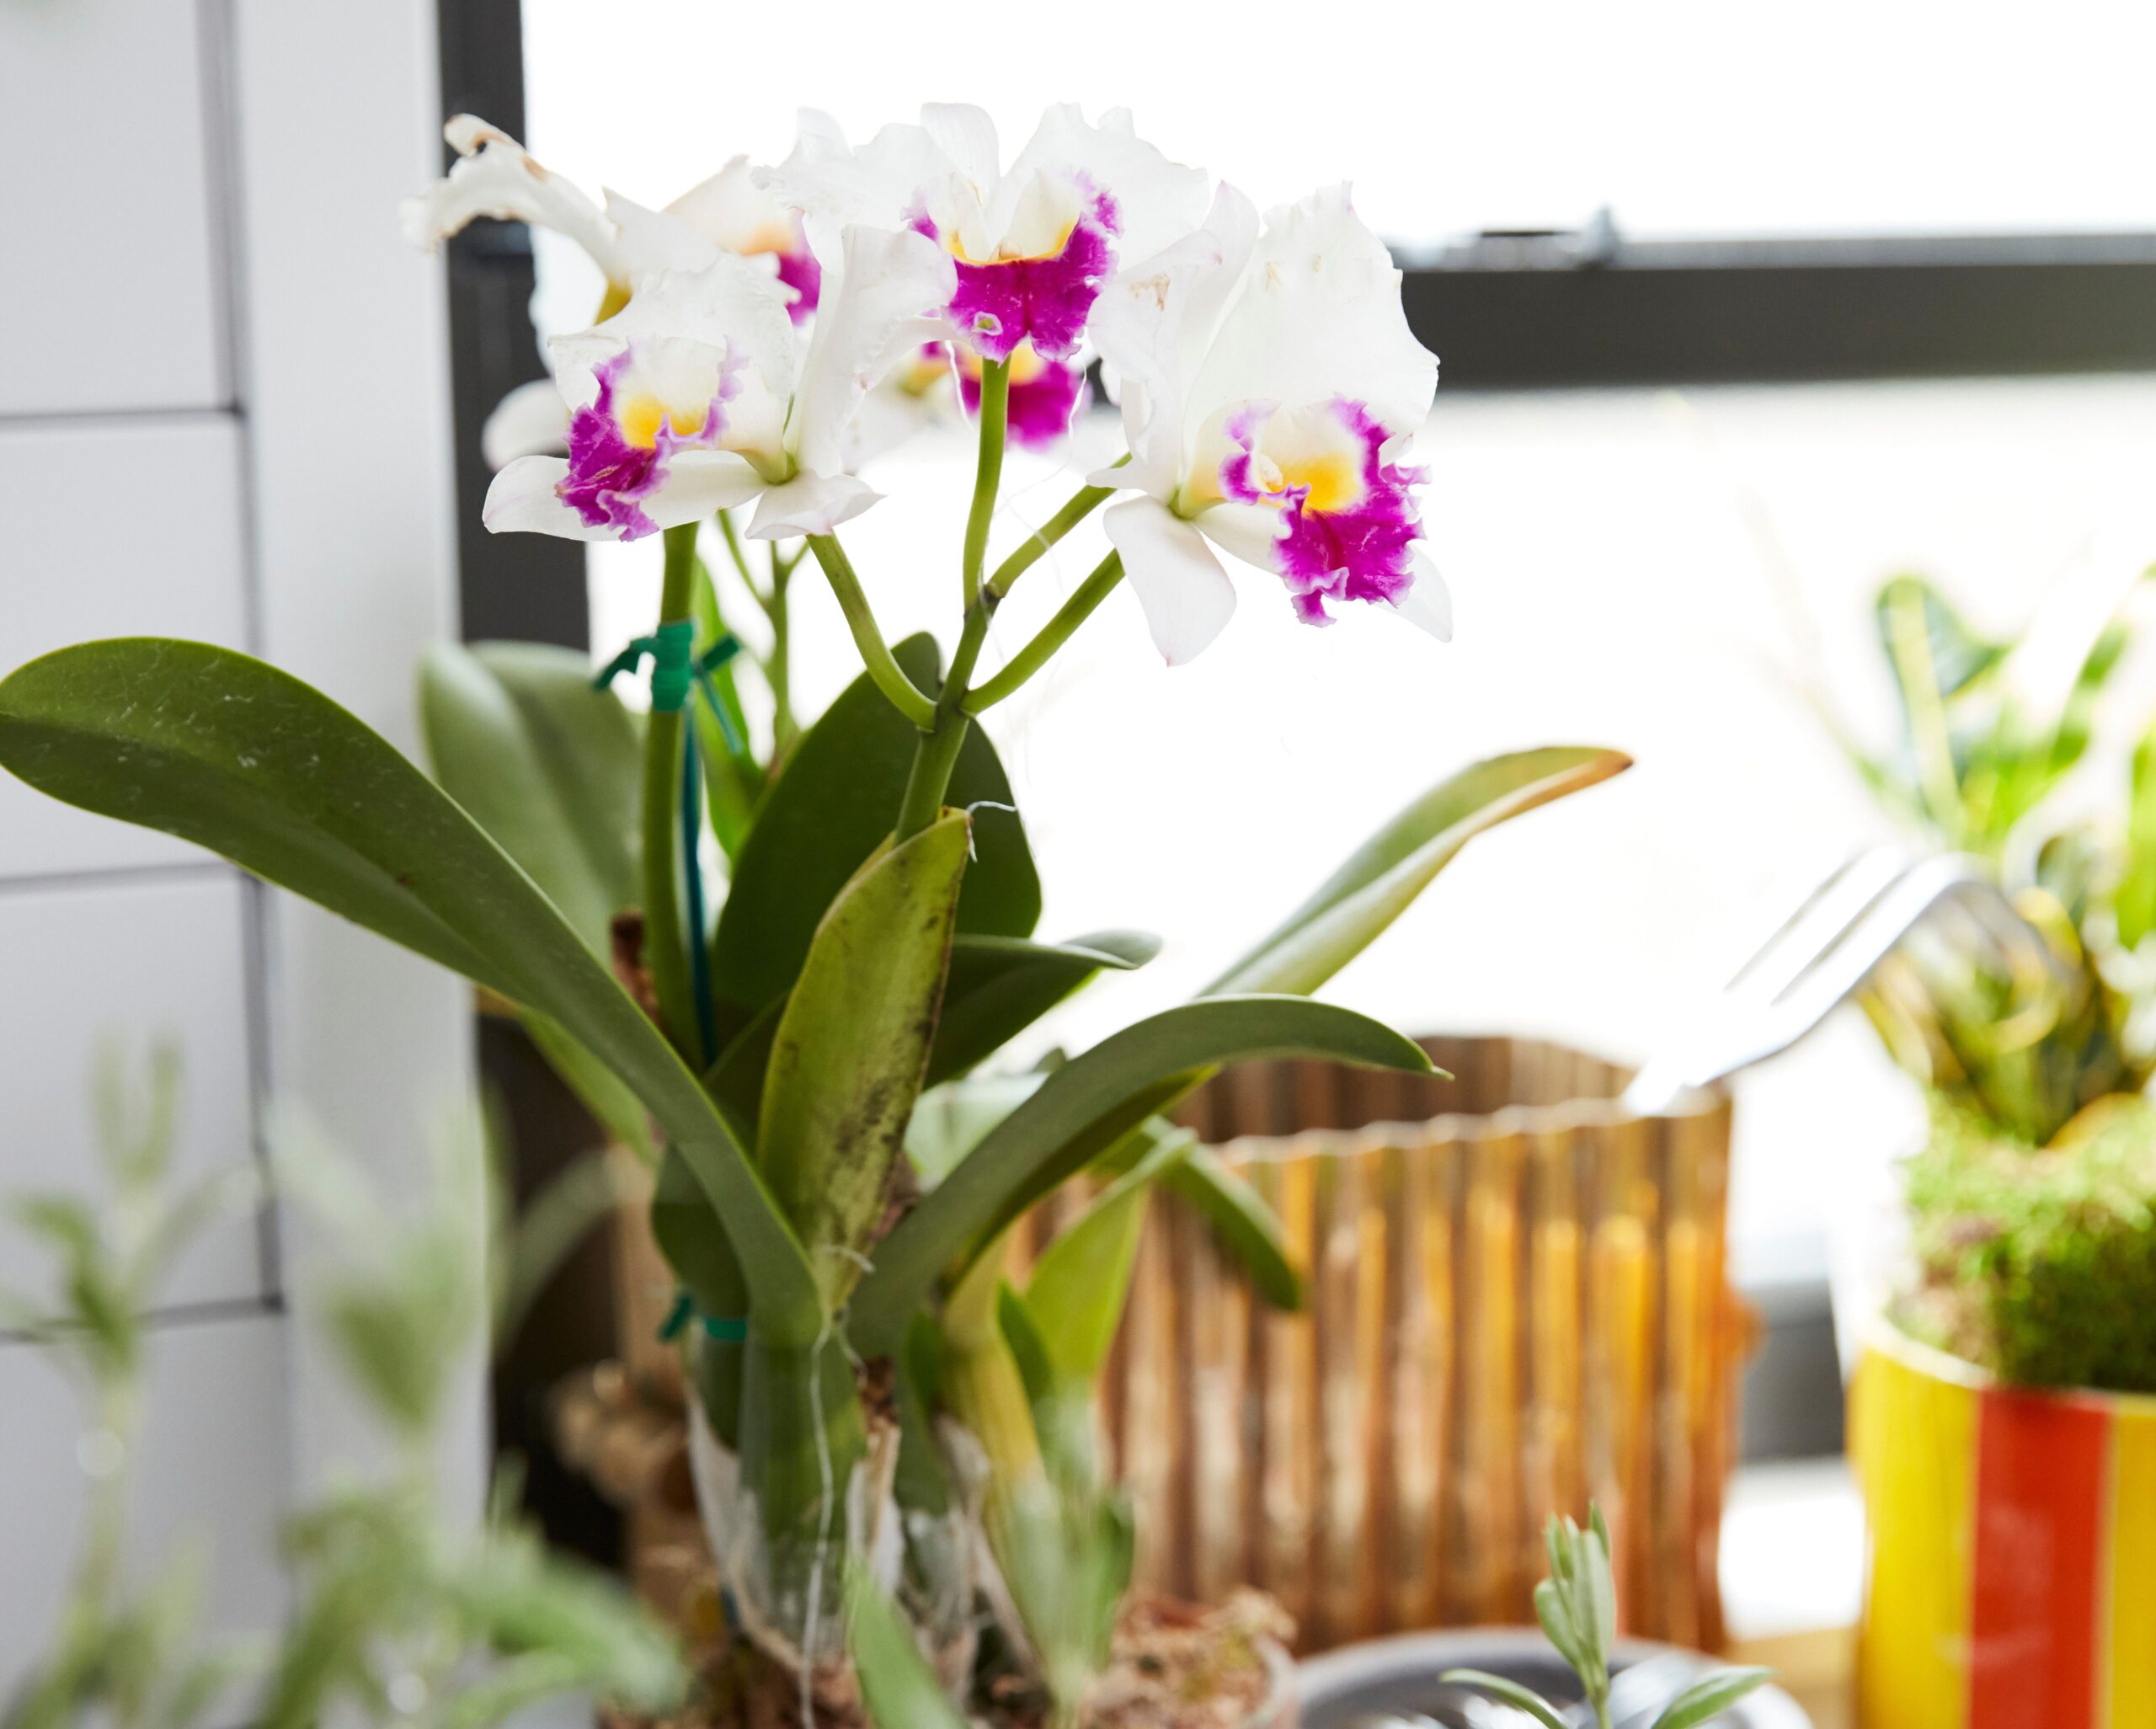
Revitalize Your Orchids with These 5 Essential Fertilizing Tips

After your orchid plant’s flowers have fallen off, you’re left with a ho-hum clump of leaves. But with the right orchid fertilizing tips, a little TLC, and some patience, you can have flowers again. Fertilizing orchids is a little different than fertilizing other houseplants. Here’s how to get the fertilizer right to get more stunning flowers from your orchids.
Justin Kondrat is lead horticulturist at the Smithsonian Gardens Orchid Collection, where he cares for the nation’s orchid garden.
How Often Do Orchids Bloom?
“Orchids typically bloom once a year,” says Justin Kondrat, lead horticulturist at the Smithsonian Gardens Orchid Collection. Producing those beautiful flowers takes a lot of energy for orchid plants. They’ll need to replenish themselves to be able to bloom again. “Once they finish blooming, you need to provide them with the correct amount of sunlight, the correct temperature, and most importantly, the nutrients they need to build strong roots, shoots, and leaves,” he adds.
Tips for Fertilizing Orchids Correctly
Because strong roots, shoots, and leaves are a must if you want more blooms, Kondrat recommends the following practices to fertilize your orchid properly.
1. Use 10-10-10 Fertilizer Formulated for Orchids
Dilute the fertilizer to ¼ the strength indicated on the label. This is very important. You’ll be feeding your orchid often, and a weak solution of fertilizer regularly throughout its growing season is better than one or two feedings of full-strength fertilizer. Lots of small meals are better for your orchid than one or two big meals, says Kondrat.
2. Don’t Fertilize in Winter
In winter, an orchid grows very slowly due to shorter days and cooler temperatures and doesn’t need additional nutrients, says Kondrat. If you fertilize in the winter, you can damage the orchid by burning its root tips.
3. Start Fertilizing in Early Spring or Late Winter
When the days start to get longer and the temperatures warm in early spring or late winter, orchids begin producing new growth and initiating bud development, Kondrat says. The plants need extra nutrients to fuel this growth and to develop flowers. He suggests you begin fertilizing in April, but that may vary slightly depending on where you live. Further south, you could start in March, and further north, you could wait until early May. Whenever your plant starts showing signs of new growth, that’s when to start feeding.
4. Fertilize Every Other Week During Orchid Growing Season
Depending on the type of orchid, its growing season is typically March to October. Fertilize every two weeks during this time, using a diluted mixture of liquid orchid fertilizer so you don’t overfertilize and burn the roots.
Give your orchid a nutritional boost by spritzing its leaves during the growing season with a mixture of 2 tablespoons of Epsom salt to a gallon of water. The magnesium and calcium in the Epsom salt encourage the leaves to make more chlorophyll. “It’s like a vitamin for your plant,” Kondrat says.
5. Stop Fertilizing Just Before Halloween
By fall, your orchid will be on the way to making buds and will no longer need fertilizer, says Kondrat. “The light levels are lower and temperatures get cooler. That signals to the orchid that it’s time to grow a flower spike,” he says. More fertilizer now won’t force the plant to make more flowers. “It’s all about a cycle,” he says. “The blooms you will see in a few weeks have already started.”
Cymbidium orchids do better with a slow-release fertilizer in a pellet form because they need more nutrients than a dendrobium orchid or moth orchid. “Cymbidiums are the hungry hungry hippos of the orchid world,” Kondrat says. “They need a lot of food.”